Sunday, February 26, 2006

Stairway to Heaven?

Pete and I finally finished the stairway. We needed to complete the trim on the hallway side. We started by taking a piece of trim the we had cut to slip under the stairwell newel post and also was cut on the compound miter saw to fit along the stair stringer as well.


On the other end we cut to to fit around the 4x4 block inside the wall newel.


After this piece was placed we put in the trim along the stairwell wall. We really needed this on the hallway side to help hold up the last floor piece. This was also mitered to fit into the stringer.


Of course the really nice board I had was 2 inches short, so we trimmed it back to the last wall stud and mitered a piece at the back.


Here’s a close up of today’s work. Unlike the floor on the other side of the railing this is already stained and varnished.


Here is a shot of the entire side


Here’s what it looked like a year ago before we started any of our upstairs projects

Friday, February 24, 2006

A Whole Newel Look… or Behind Bars?

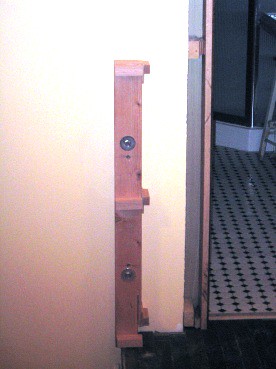
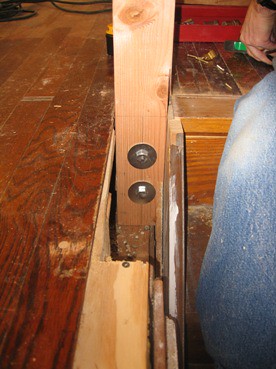
Last weekend Pete and I completed the railing on the hallway side of the stairwell. Two weeks ago we started by lag bolting a 4x4 post to the wall where one newel post would be. We had already connected the 4x4 at the top of the stairs.


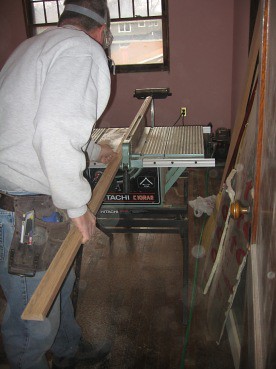
Next we started to build the boxes that would serve as our newel posts. The box at the wall end would only have three sides. We built them out of oak 1x8 and 1x6 material. Our finished boxes were 6 inch square.


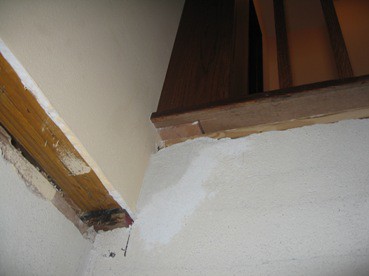
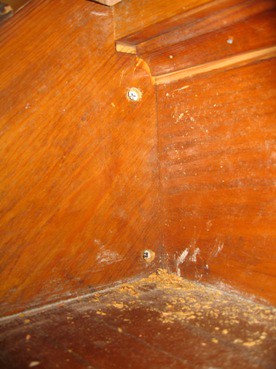
When we had the wall side box built we marked how far out spacers would have to go to hold the box in the proper place.


We then attached the spacers to the 4x4 post.


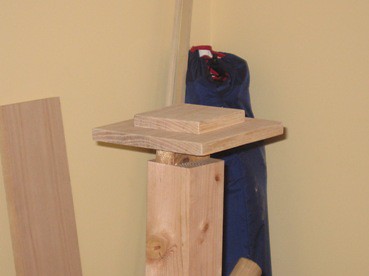
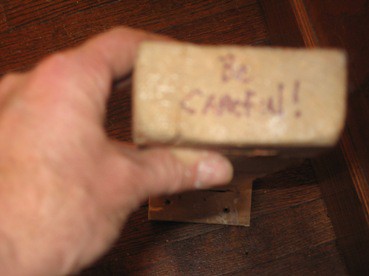
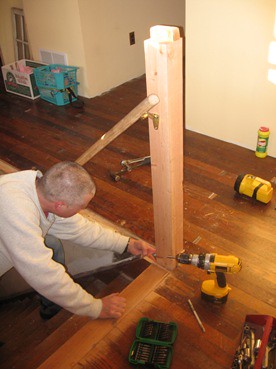
We were making these newels to match the columns on the bookcases on the other side of the stairs so we made the cap for the top and attached it


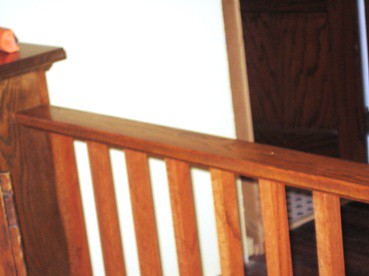
We also made the full box and cap for the newel post that would be at the stairway end. Here is the cap sitting on top of the 4x4


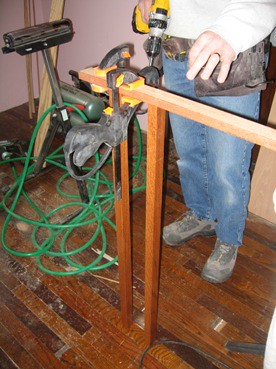
I then spent the week staining and varnishing the boxes, spindles, shoe, railing and caps. When it came time to install we first attached the boxes to the posts. Here is the full newel box at the stairway end


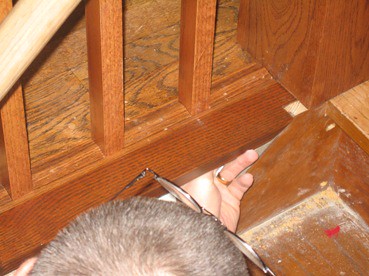
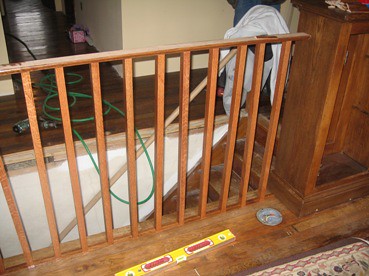
Then we repeated the process we had done on the other side by attaching the spindles into the shoe, and bringing the shoe out and setting in into the floor and screwing it down.


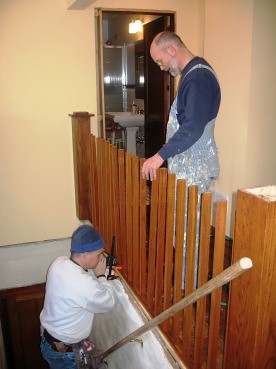
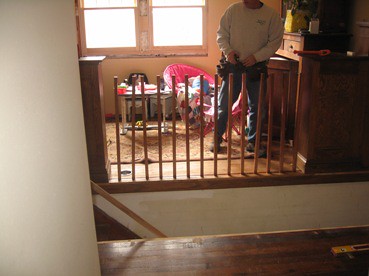
We then put another piece of shoe on top and screwed each spindle to it, and covered the shoe with the railing. When everything was attached it is quite sturdy.


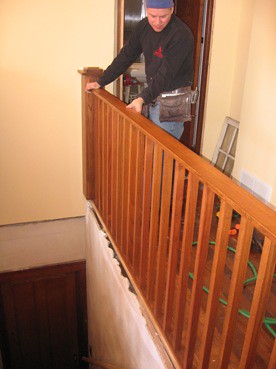
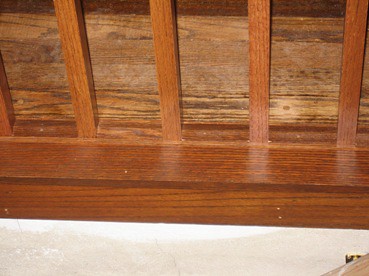
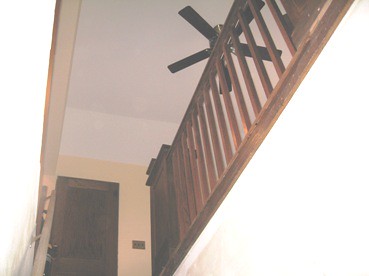
Here is a full view of the hallway side:


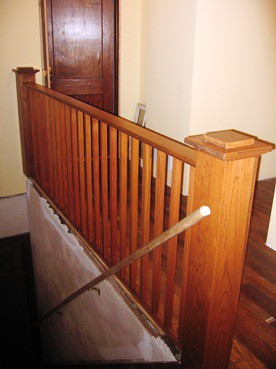
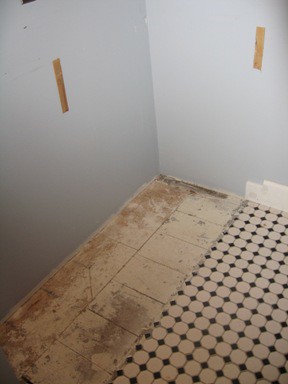
We then cut the last piece of flooring and the trim that will cover the stairwell below the floor. We’ll put that in place this weekend.
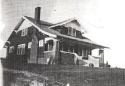
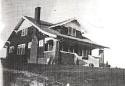
Sunday, February 12, 2006

Removing an Old Friend

Pete came this afternoon to start looking at what to do about railing on the other side of the stairway. We really have had some trepidation about this in terms of getting something that will be stable and sturdy. Pete's suggestion was to get a 4x4 post somehow anchored and build around it. We weren't sure how we would be able to do this, so we thought maybe we'd start by taking out the temporary post and seeing what was down there.

The temporary post was put in by Pete last summer, and has been the reminder of how far we've really come since June. When he put it in, Pete wanted to make sure the girls were safety conscious when they came upstairs, so he put a note on it.


After we took it out we then cut into the subfloor to take out a small 2x4 block. We were able to vacuum out the insulation and see that if we took a little more out we could cut a big enough area to slip a 4x4 post down 9 inches and lag screw it into a support post.


Once again thanking our good luck, we were off to the hardware store to get a post.

We set it in place, plumbed in both directions and screwed it in.


After that we put two screws in through the side of the top step to hold it even more securely.


Pete then reattached the handrail to the new post.


I needed to put a finishing touch back on the top.


I will get more oak this week and start staining and varnishing so perhaps we can build the other side of the rail next week.

Saturday, February 11, 2006

Don’t Fence Me In!

We put the railing in on the sitting room side of the stairway today. Last weekend Pete and I had ripped the shoe to fit in the floor and ripped square spindles from 5/4 oak stock. I spent my evenings last week staining and varnishing them along with another full piece of shoe stock that we would use at the top, and a piece of 1x4 trim that would go over the upper shoe. We started today by laying the bottom shoe into the channel between the bookcases and marking where the first spindle would be. We then measured and cut stops from the shoe stock to fill the spaces between the spindles. To meet code and use our space evenly we decided to make the space between the spindles 3 ¾ inches. When these were cut we inverted the shoe and used clamps to hold the spacers on while we then screwed through the bottom of the shoe into the spindles.


Pretty soon we had all 14 spindles attached.


We then carried the piece out and set it into place.


Once it was set where we wanted it we shot nails through the shoe into the floor between the spindles. We then nailed the spacers into place.


We then double checked the top shoe length (different than the bottom shoe due to the trim at the bottom of the bookcases) and cut the shoe to fit tightly and set it into place


We then set the first spindle to plumb with a level and put a screw in from the top. After that we used spacers again to get correct distance and alignment. Every third spindle or so, we’d double check with the level. It went pretty quckly. We then put the trim over the top and nailed it into place. Or most important step was to plumb the entire railing and set screws through the ends into the bookcases.


Once that was accomplished I shot nails to secure the spacers in the upper shoe. The whole thing looks great and now I don’t have the worry about the kids falling down the stairs when they watch TV. It even looks good from the bottom of the stairway.


For the other side of the stairs we will have to build posts that match those at the end of the bookcases and then do the same thing with shoes and spindles.

Tuesday, February 07, 2006

Things Have Really Cooled Down

Not that we're working any slower, but at least the temperature of the water in the upstairs toilet is definitely cooler. The plumbers came last week and switched the supply line. We had pulled out the cabinets, and luckily they could open a one foot square hole in the subfloor and get it done. Here's a before pic. I forgot to take one after they were finished, and then we put the cupboards back in place.


Pete and I started on the railing last weekend too. We bought some stock oak shoe and ripped the sides off at a point where it is 3/4 of an inch tall, so we will lay it right into the floor.


We then put a last piece of flooring outside it.


We then pulled the shoe out of the space and removed the top. To complete this we will attach the spindles with screws from the bottom of the shoe, and then install the shoe into the floor.

We cut 5/4 inch stock into spindles, and will use an inverted shoe at the top with a piece of 3 1/2 inch wide trim on the top. I stained the spindles and now hope to start varnishing so that we could install the bookcase side of railing next weekend.

Getting the railing completed is a major step toward our occupancy inspection. While there are many things yet to do to make the place truly liveable, as soon as the tub supplies are connected and the railing is up, we will have "met code." I find that to be a truly scary thought.