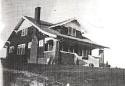
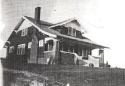
 Here is a record of our restoration of a 1928 craftsman. We will be the second family to live in the home. Watch our progress when we prevail and our privation and pratfalls as we do not.
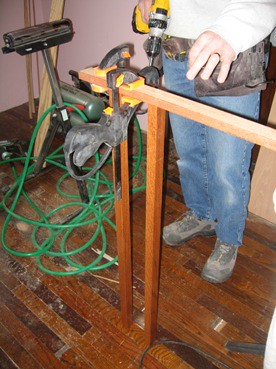
Pretty soon we had all 14 spindles attached.

We then carried the piece out and set it into place.
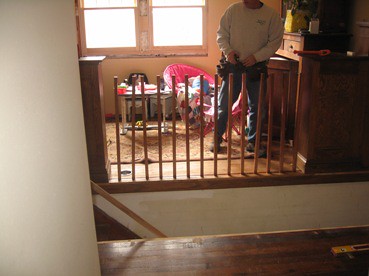
Once it was set where we wanted it we shot nails through the shoe into the floor between the spindles. We then nailed the spacers into place.

We then double checked the top shoe length (different than the bottom shoe due to the trim at the bottom of the bookcases) and cut the shoe to fit tightly and set it into place
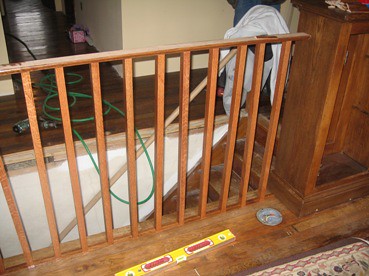
We then set the first spindle to plumb with a level and put a screw in from the top. After that we used spacers again to get correct distance and alignment. Every third spindle or so, we’d double check with the level. It went pretty quckly. We then put the trim over the top and nailed it into place. Or most important step was to plumb the entire railing and set screws through the ends into the bookcases.
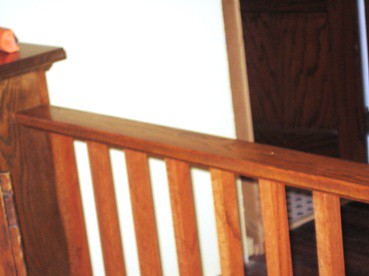
Once that was accomplished I shot nails to secure the spacers in the upper shoe. The whole thing looks great and now I don’t have the worry about the kids falling down the stairs when they watch TV. It even looks good from the bottom of the stairway.
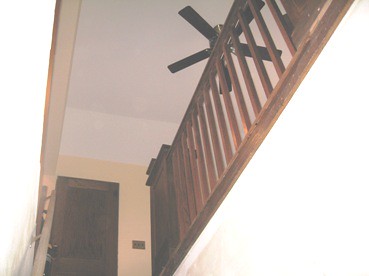
For the other side of the stairs we will have to build posts that match those at the end of the bookcases and then do the same thing with shoes and spindles.
1 comment:
The railing really looks good. Nice work! Thanks for the detailed description of the construction process, too, Mike.
Post a Comment