As a famous person once said "The first 90% of a project takes 90% of the time, the last 10% takes the OTHER 90% of the time..."
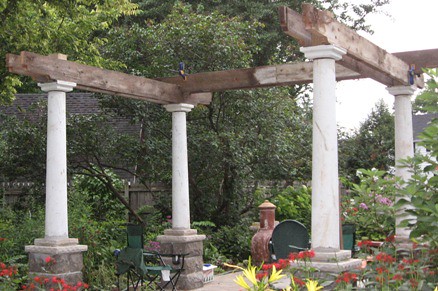
When we left off on the pergola build, Pete and I had set two of our four columns and were confident that the other two would go quickly. On Sunday afternoon we set the third column in about 20 minutes and were feeling pretty proud of ourselves. We reset the hoist for the last column and went to move it. As we lifted it into place a small chunk broke off the bottom (in hindsight we should have recognized this as ominous foreshadowing) We thought, "No matter. we have a total of six columns, we'll use one of the extras." We went and got another one and wrestled it into place.
We started pumping the hydaulic and were over the second base, with only 6 inches of re-bar to clear, when we realized the hoist wasn't going any higher. We lowered the column, repositioned it, and tried again. Same result. We lowered it again and tried to take some links out of the chain thinking we hadn't hooked it up correctly. Still not enough lift. Then the serious head scratching began.
Being a Sunday the rental place was not open. We decided to take the hydraulic arm apart. Neither had ever done anything like that before. We really couldn't really figure how to get it apart. We went and got fluid to add to the resevoir but it was already nearly full and we could force the arm back down when it was pumped.
Pete then called a friend whose daughter plays volleyball with Pete's younger daughter. He is a farm implement dealer in a town about 30 miles away. Pete thought this would be right up his alley. Luckily he happened to be in Iowa City, and came over in half an hour. He took it apart and looked it over carefully. After nearly an hour of not getting it to work either he casually mentioned that he HAS A HYDRAULIC ENGINE HOIST AT HOME IN HIS WORKSHOP!
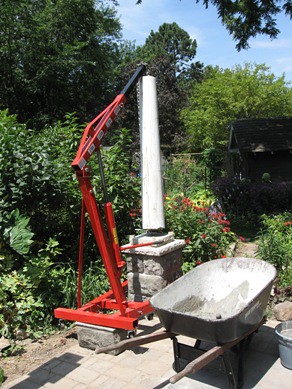
Pete and I went on Monday morning to get it from his place. It had never ever been used. We brought it back and set it up:
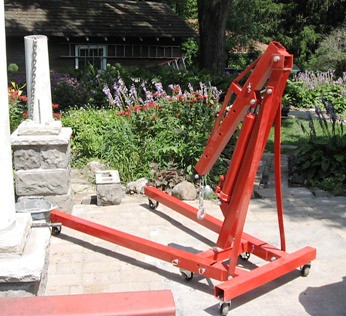
We found, like the other hoist, it was too short. We blocked it with cement and posts and started to lift. I had to sit on the back end to keep it grounded:
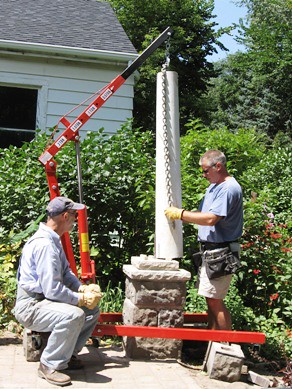
In short order we had it over the re-bar:
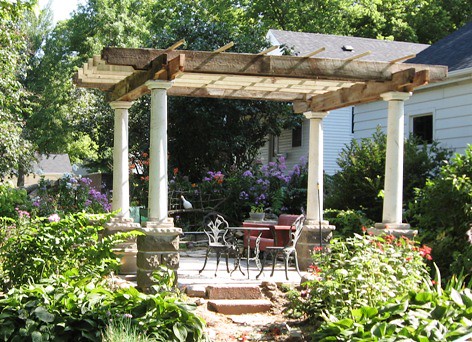
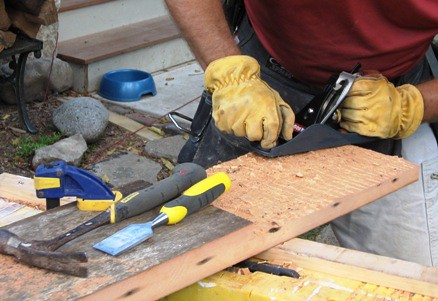
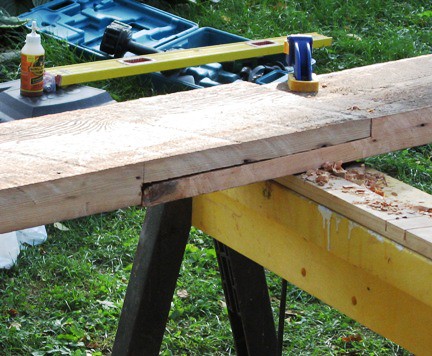
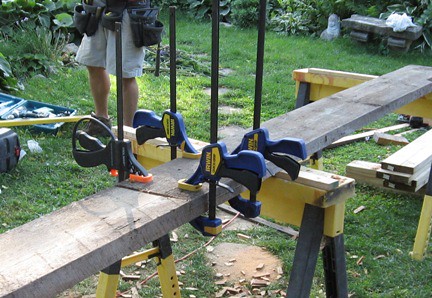
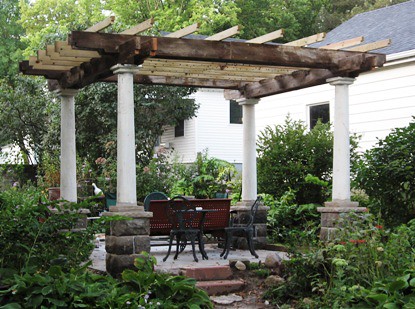
While we were waiting for the mortar to dry a little (we mixed it too wet) I pulled out a cross beam and laid it into place on the columns we had already set. The cross bars are also salvaged. They were floor joists from the house the columns came from. The joists were full dimension 2 x 10 and were DOVETAILED into a 14 inch square beam that ran through the center of the house. The left side in the picture below was the profile the boards had when in the beam. The right side is straight because we had to sawzall them out to get them lifted.
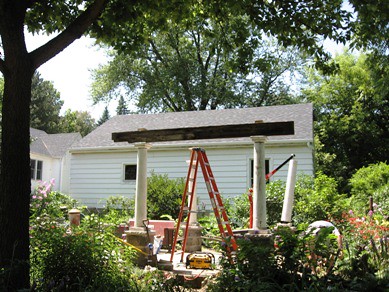
I liked the profile so much we decided to use it for the cross bars. Here are the first boards in place.
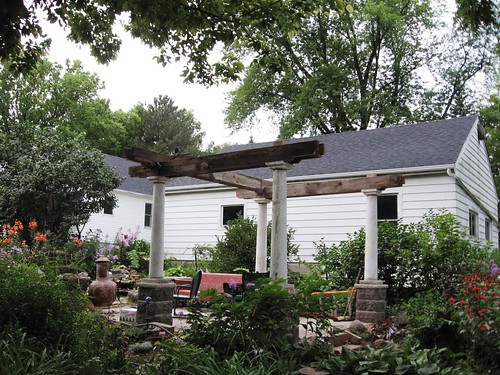
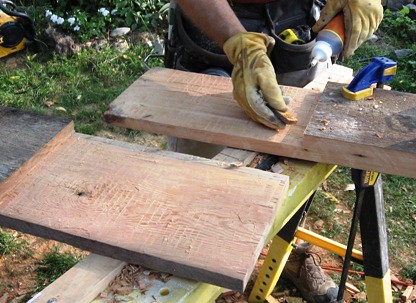
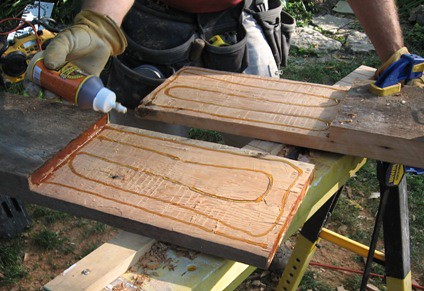
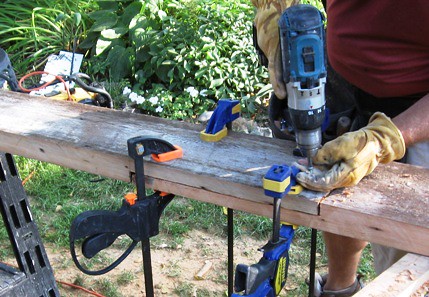
Next post I'll tell about how we re-worked the beams to make the cross bars.
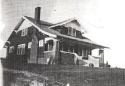
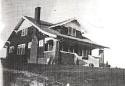 Here is a record of our restoration of a 1928 craftsman. We will be the second family to live in the home. Watch our progress when we prevail and our privation and pratfalls as we do not.