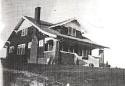
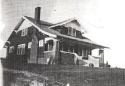
 Here is a record of our restoration of a 1928 craftsman. We will be the second family to live in the home. Watch our progress when we prevail and our privation and pratfalls as we do not.
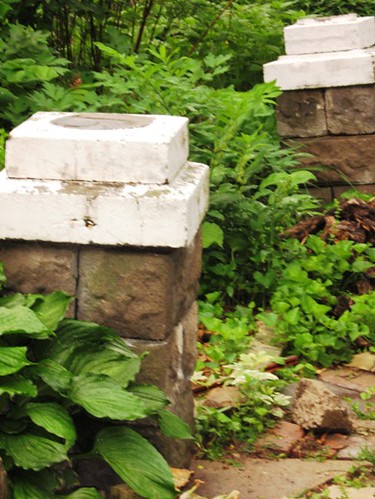
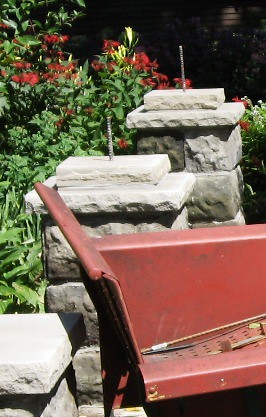
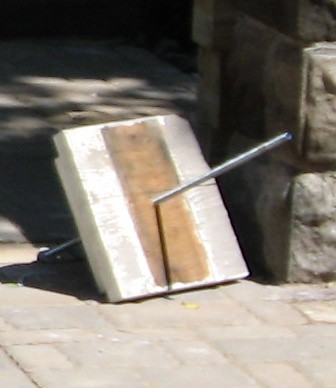
The bases each had two concrete caps on them, that we ended up not using, here are some stacked up before we started working:
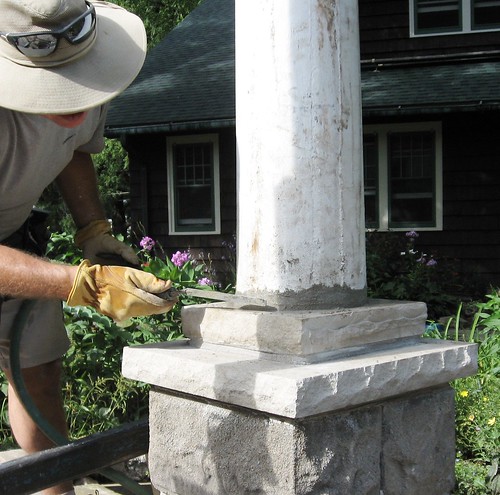
Pete had set re-bar into the footings for the columns that we had dug and poured before laying any of the pavers. He and I set the blocks with mortar, and string leveled the first course on all four columns, then we laid the second course and re-checked for level. We did the same for the third course too. We then put more cut re-bar into each base and filled them with concrete. I had bought limestone for the caps to replace the cement that we decided not to use. We drilled a hole into each large cap and set a rebar in the middle of each column, slipped the cap over it and mortared the top to the base. To get a smaller cap on top I had bought a very large capstone and with the grinder we scored it and broke it into four pieces. These were also drilled and then slipped over the re-bar and mortared to the first cap, checking for level as we went.
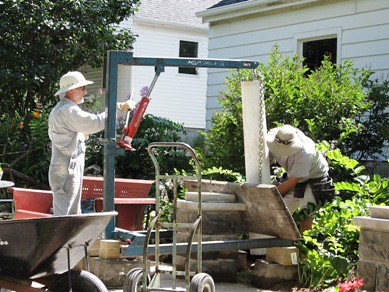
After this we knew we were in for the hardest part of the project: placing the columns on top of the bases. In removing the columns it was all Pete and I could do to carry and move them. Our guess was that they weigh somewhere in the neighborhood of 300-350 pounds each. To be honest we were very unsure how to lift them up and drop them carefully onto a bed of mortar and be able to set them plumb. In the end we decided to rent an engine hoist.
Last Saturday afternoon the rental place called and said the hoist was available. We used a dolly to move the columns up to the patio.

After setting the hoist up we discovered its maximum lift was a foot lower than we needed. So we blocked it up with concrete blocks and 6 x 6 posts. We put it in place and got the first column over to the base. We dropped the chain through the column (they were poured originally with a piece of galvanized downspout through the middle) and slid a piece of re-bar through the chain at the bottom and hooked it up to the hoist.
Once we had it over the top of the re-bar we positioned it and lowered it just enough to catch the re-bar.

Then we marked a diagonal from each corner of the top cap to the re-bar in the middle and measured 4 1/2 inches from the re-bar along the diagonal. The base of the columns are 9 inches in diameter, so this gave us a guide as to where to set the columns.

We had also cut wooden blocks one inch tall and one and a half inches long and marked them so we could set them on the diagonal marks we had made.
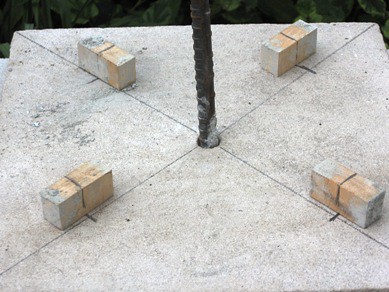
We had already mixed a fairly dry batch of mortar. We then laid it onto the cap, and then re-set the wooden blocks onto their marks.
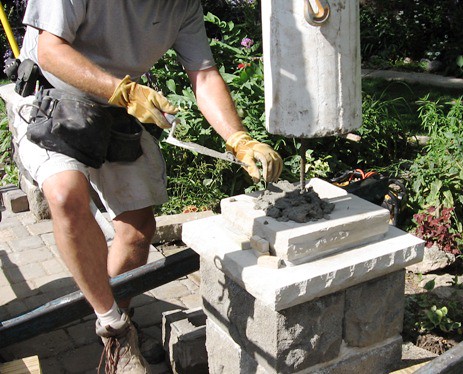
We then lowered the column down into the mortar until it sat on the blocks. The re-bar at the bottom of the colums was one half inch, and the chain link was another quarter of an inch thick. By sitting on the blocks we had just enough clearance to wigggle the re-bar out and pull the chain up the top. We then gently tilted the column to one side and then the other to pull the blocks out of the way. We then slightly twisted the column to set it into the mortar. Climbing the step ladder to the top of the column we used a square and a level to check for plumb. After being satisfied with it. Pete tooled out the extra mortar.
After the post was set we mixed a fairly wet batch of concrete and using a cut off milk jug poured down and filled up the cavity in the column, securely tying it to the base.
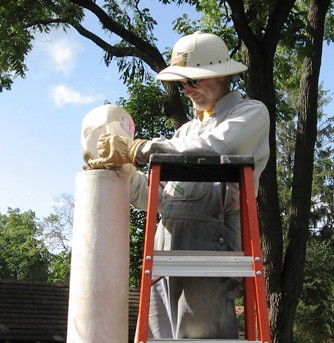
When we had the top filled we placed the capital on the top. We had drilled them also and place a threaded bolt through. The bottom end of the bolt went into the wet cement to tie the entire structure together. The top end of bolt will have a drilled 6 x 6 piece set onto it. This will give us something to attach the rafters to.
We set the first two posts and stopped Saturday evening for dinner. We were very confident we could finish the next two on Sunday afternoon without any problems at all. How wrong we were!
(to be continued...)
4 comments:
Holy cow! That's an amazing process, Mike. I can't wait to see more-- by your teaser ending, I'm expecting complications.
Y'all are my heroes. How come you don't ever show Pete's face, though? He's kind of a mystery man.
Well Foxcroft has never purchased the right to use Pete's face, so we have to crop it out or only use shots that don't show it...
Wow, great post. I agree with Jimbo...we're not worthy!
Is Pete Foxcroft's version of Wilson?
Post a Comment