 Here is a record of our restoration of a 1928 craftsman. We will be the second family to live in the home. Watch our progress when we prevail and our privation and pratfalls as we do not.
Every time Lisa has asked when we would do the kitchen, I have answered "Last." This is because nearly every other project required us to track materials in through the back (kitchen) door.
Over spring break we had plasterers come to fix the corner where we had removed the bump out that was Bess' closet from her bedroom. We had removed the closet a mere 10 years ago in June of 2005.
While I will flesh this out and give details about what we've done in the near future, here is a photo montage of the kitchen from when the house was built (1928) through today, in progress:
BLUE PRINTS
Here is the kitchen layout from the blueprints. The back door opens between the half wall of the nook, and a bump out bedroom closet. This would have been extremely narrow. The small area marked "Brooms" was another closet, that opened in the kitchen. The fact that Bess was getting an ELECTRIC REFRIGERATOR rather than an icebox was a big deal, and noted in the plans:
Here is the kitchen layout from the blueprints. The back door opens between the half wall of the nook, and a bump out bedroom closet. This would have been extremely narrow. The small area marked "Brooms" was another closet, that opened in the kitchen. The fact that Bess was getting an ELECTRIC REFRIGERATOR rather than an icebox was a big deal, and noted in the plans:

One of the most charming parts of the kitchen plans was the breakfast nook. Bess had found separate images of how she wanted the table and the benches to look, and given them to her designer:

1928 Photos:
THESE 4 PHOTOS WERE ALL TAKEN SHORTLY AFTER THE HOUSE WAS BUILT.
For ALL PHOTOS below click on the image to see a larger version:
For ALL PHOTOS below click on the image to see a larger version:

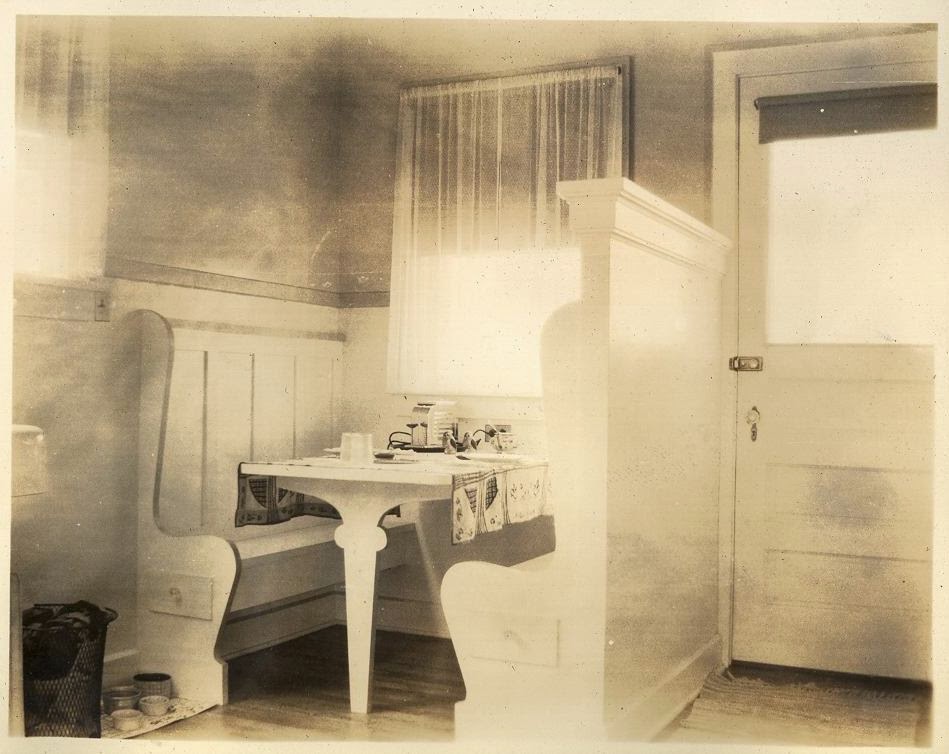


This photo was some time after 1928 and before 1948:

In 1948 the half wall and bench of the nook were removed.
These photos are probably shortly after that:
These photos are probably shortly after that:


The next three images show what the kitchen looked like the first time we were in the house on Dec 19, 2003:


The next four photos show removing the broom closet, and the bump out bedroom closet
on June 9, 2005. Read about that here:
on June 9, 2005. Read about that here:


We had to put a header over the back door to carry the load of the gable we added upstairs. the first photo below shows that. The second photo shows the light switches shown on the bump out above that had to be relocated, this would be about a week after the pictures above.
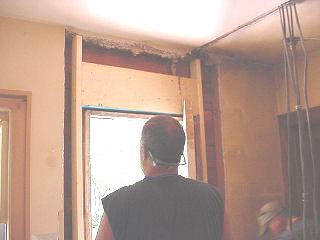

So here is the kitchen after the plasterers came, and I just finished varnishing the floor. There will be more updates to come.


