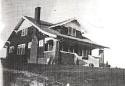
 Here is a record of our restoration of a 1928 craftsman. We will be the second family to live in the home. Watch our progress when we prevail and our privation and pratfalls as we do not.

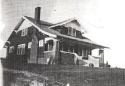
The far left side hadn't been done yet

Here is one of the center sections
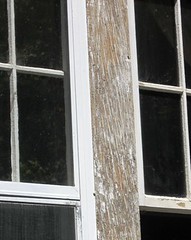
After heat gunning the paint off the boards in the center sections were in bad shape. I knew I'd need to sand down to bright wood in order to get any new paint to stick. Since they were so loose anyway I decided to take them off, which of course exposed the window sash weights and cords.
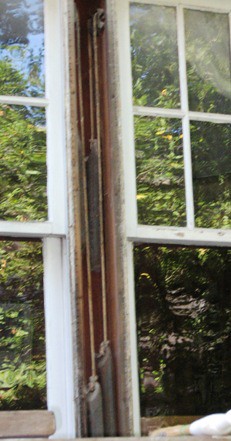
It was then that I realized how much easier it would be to replace the old sash cord FROM THE OUTSIDE. I wouldn't have to knock open the channel pocket and reach in and up or spend nearly as much time threading the cord through the pulley. I went and bought new cord, since I was nearly out and I found a thicker cord than I'd ever seen before. It was so thick I could barely get it through the holes in the weights. but it sits very nicely in the pulleys.
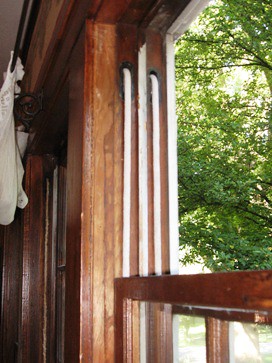
So the center window is completely re-roped and the two outside windows have their inside ropes replaced. In other words of the 12 ropes in the window section 8 have been replaced. I'll do the outer ropes on the outer windows when I'm ready to reglaze those windows in the future.
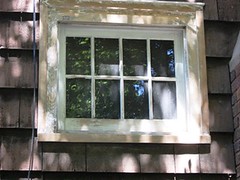
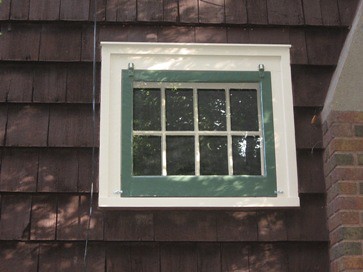
After getting the outside boards clean I put them back into place. I used bondo to fill in the cracks in the board to get a smooth surface again, and sealed them up at all the edges. I did the same to the chimney window next to the fireplace. Here is that one ready for priming.
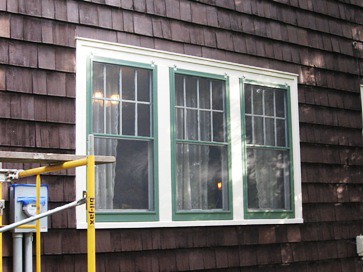
So how does it all look now? Here are the dining room windows completely painted and with my new screens from
Adams Architectural in place. (Storms will go up this winter)
Here is the chimney window.
I have been back up working in the eaves and repairing the lookouts that hold the barge board in place. I'll post on that next.
1 comment:
Your answered a question (below) in 2006 with a link that is no longer working. Do you have a working link with this information? I am attempting the same thing and could you some advice.
Thanks
Jean
jeanawright@gmail.com
Well, I've redone floors myself in two houses now, and my advice is don't sand them. Here is a link to a page I put up on how to do this at our "old" place:
http://zeus.ia.net/~mayhem/house/house4.htm
My method works for stripping off the old varnish, it won't work if you have new polyurathane on them, which it doesn't sound like is the case here. What I like about my method is that your floor still looks like an old floor. I've seen a couple of places lately that have been drum sanded twice, and can't take another sanding or nail heads will start popping through.
In our "new" old house the only thing I'm doing differently than above is that I've rented a 12 inch by 18 inch random orbital sander with very fine mesh to sand between varnish coats instead of my palm sander (much quicker!). I'm also using oil based varnish instead of water based.
-Mike
Post a Comment