Showing posts with label Painting. Show all posts

Tuesday, May 05, 2015

Kitchen Update #2

I was able to install more trim over the weekend. First I had put to put 1 x 4 around the back door. Somehow I managed to lose the piece that went on the left hand side of the door and was cut out for the door lock catch, but waiting 10 years after removing it, that will happen... I did find the piece that went over the door, but that was no good to me, since originally the right hand side of the door was a perpendicular wall. With that wall removed I needed to cut a right hand side panel and then have the top go over it, so the original was too short. I picked up trim at the Salvage Barn. It was three pieces painted all over 84 inches long. Since it was painted it was half off, so I paid $8.00 total.

I stripped the paint off the boards, sanded and then cut them to fit. I then primed, painted and installed over a two day period. I think the part around the lock turned out OK.

My picture is bad but here it is now:

 Compared to how it looked in 1928:

In my defense, because we took out the closet to the right of the door we had to make both sides match, and be part of a single plane which they weren't originally, so we had to install a shim under the trim, which recesses the lock catch a bit.

Up next: Getting back band cut and fit around the back door so I can then complete baseboards, and the upper trim.

Wednesday, April 29, 2015

Kitchen Update #1

Here is a first kitchen update after announcing that we were actually doing something.

Last week I finished painting the wall and some trim. Here is a shot of the sink and the edge of the cupboards:


Since I've taken this picture I have:
  • returned the brass switch and outlet plates
  • put up the trim at the top of the cupboards
  • added the trim that runs around the kitchen between the window and cupboard
  • added quarter-round to the baseboard
  • added base shoe to the cupboard toe kick area
Here is a picture of the nook:


I just se the table in place, I haven't attached it yet. You can see the trim above the nook, that will run all the way around the kitchen.

What I'm working on now:

  • trimming out the back door
  •  baseboard for the exterior wall on both sides of the door
  • upper trim on both sides of the door
Hopefully I'll have some more pictures to share in a couple of day...

Thursday, October 30, 2014

I'm STILL painting the house.

Even though it has been nearly two years since the last post, I thought I'd let the three or four readers who might still be out there know that I am still painting the house.

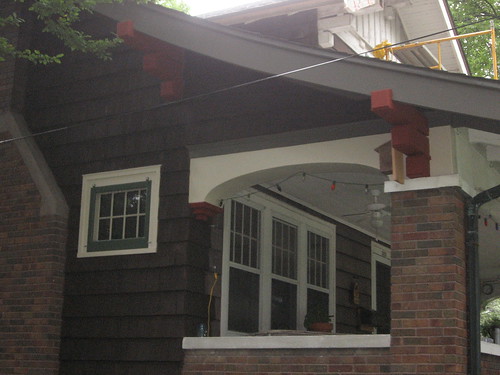
Last weekend was a beautiful near record couple of days which allowed me to finish painting the interior of the front porch. I had been working on that since mid July when I finished the last of the north side.Here is a picture from some time in early July when I was finishing on the side:
 Once I was finished the north side, I started on the porch. I knew I could not possibly remove all the paint from the beadboard ceiling, so I ended up using a random orbital sander and 60 grit paper, followed by 80 grit. This took off the loose stuff and gave me a good smooth surface where there was tight paint remaining. The porch is 8 feet deep and 34 feet long. I worked in thirds, hung drapes to contain the paint dust and wore my usual HEPA filter mask and goggles.Here is that part of the porch now. I managed to finish the first third barely before Labor Day weekend. Most of this project has been worked around home Iowa football games.


Since there were three consecutive weeks of home games I didn't get to start on the middle third of the porch until late September. This was the portion around the front door. I managed to get this completed right before Homecoming.
Lisa had gotten very nice house numbers, but they were a dark patina brass. I took out my 150 grit sandpaper and managed to shine up the numbers enough so that they can be seen from the street. I found a hammered copper doorbell to match the house numbers.

Here is the last portion that I just finished. I put up the new screens and hung the porch swing back up. Of course there is a home game on Saturday. Unfortunately the temperature Saturday morning is predicted to be 24 degrees, We probably won't sit out there long...

Monday, July 23, 2012

Seven Years...

Today not only is my birthday, but it marks seven years that we have been living here at Foxcroft. We "officially" moved in on July 23, 2005. It was a beastly hot day to be loading and unloading a Ryder truck. I remember going by the bank and seeing their thermometer read 100. Well today is likely the hottest day we've had since then. This afternoon when I came inside from painting on the North side of the house our thermometer said 102. The sensor is behind the gutter and in the shade.

It must be too hot for my camera to work so here are some pics I took on Saturday when I was sanding the areas that I'm now painting.

Here is the overall view:

And a few close ups:


You can tell where I've already painted (trim) and stained (shingles)


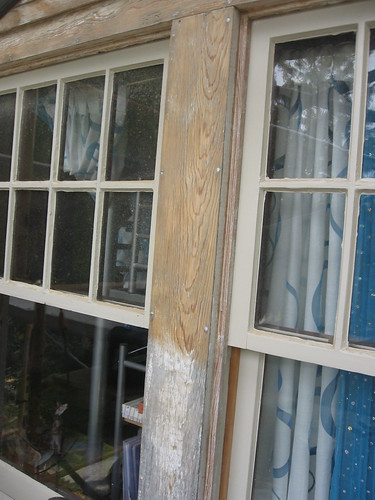
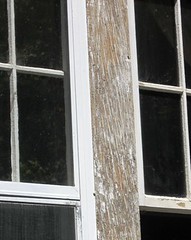
And the difference between sanded wood ready for new paint, and the untouched porations where the paint has failed. I don't believe the trim has been painted in nearly 30 years.


Monday, July 18, 2011

STILL Painting

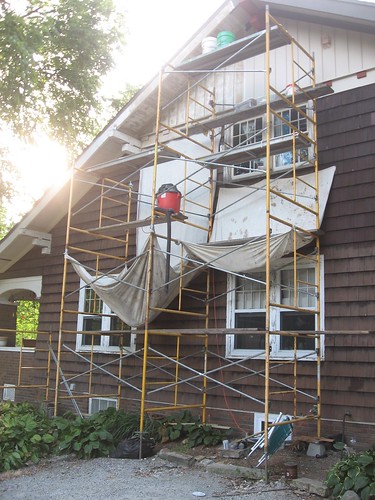
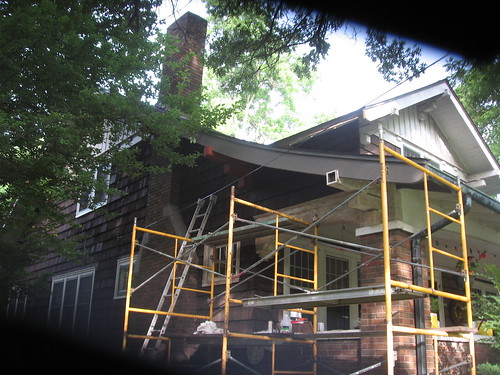
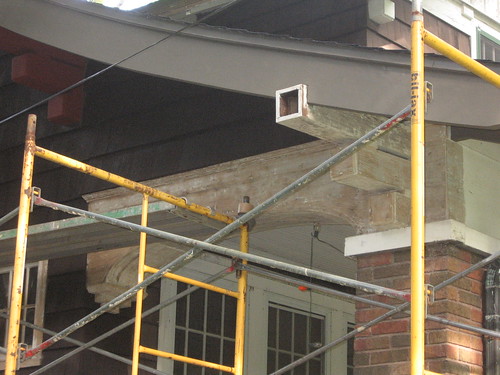
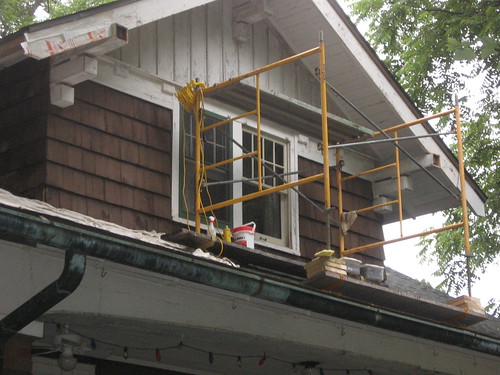
Yes it is year 5 and I am STILL painting the house. I picked up where I left off last summer near the front of the southeast side. Here was the scaffolding in place in late June:


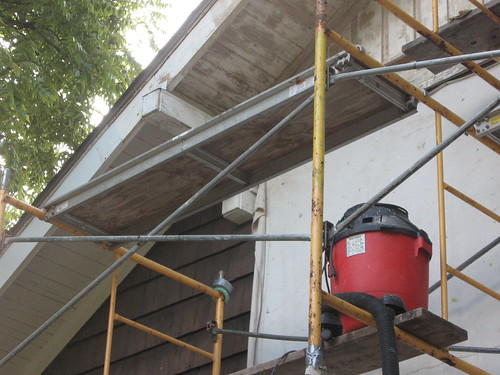
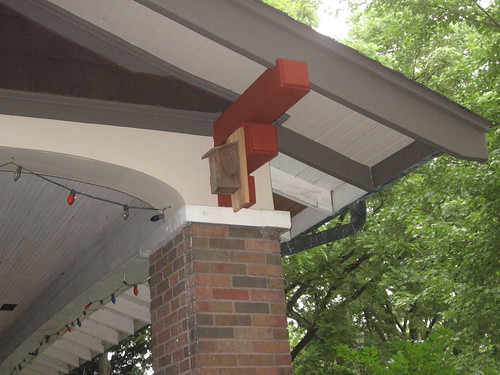
By this point I had already heat gunned off all the paint on the chimney window, under the eaves, the side of the porch opening, and off the lookout boxes supporting the barge board. Here is a closer shot of the lookout and porch side:


And here they are completed:


The good news is that after I hung the wren box back up the wren came back.


Where next? No where to go but up:

Tuesday, March 15, 2011

Goodbye Princess Pink...

...Hello Hootenanny!


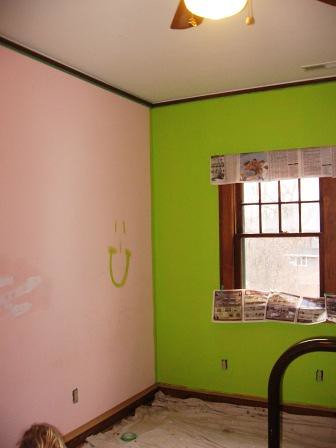
Younger daughter has been begging for two years to re-paint her bedroom. Her most persistent line of reasoning is that she chose her room color when she was 4, and that now she has reached the ripe old age of 9 a change is in order.

We relented and decided that spring break was a good time to do this, so we started clearing her room out Friday night and on Saturday I set to work. "Hootenanny" is the color of green she chose. She painted the smiley face herself.


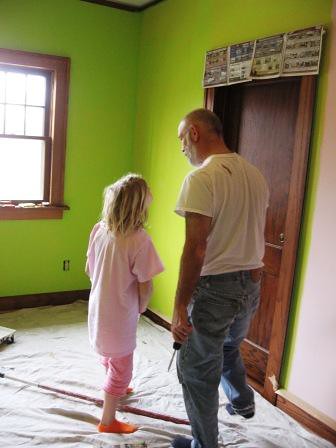
Here we are conferring after finishing the test wall and starting to turn the corner. Since the original paint was relatively new I merely cleaned the walls and re-coated rather than clean, prime then re-coat.


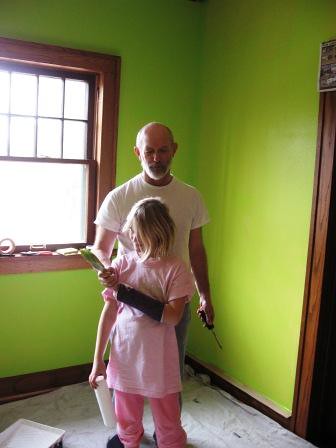
This photo gives a chance to show off her cast. Due to a buckle fracture in her left radius she gets to wear that for a month.


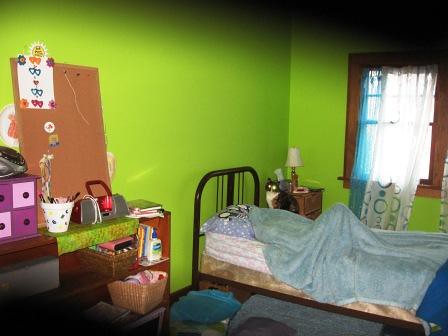
And here she is sleeping this morning with the cat standing guard.

Other major spring break projects to follow!

Wednesday, February 16, 2011

Descent into the Maelstrom

Besides being the name of a short story in volume II of the collected works of Edgar Allan Poe that I read over vacation between Christmas and New Year's, Descent into the Maelstrom,
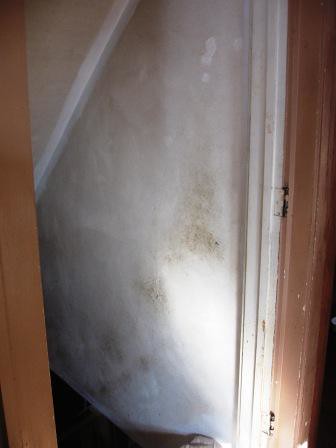
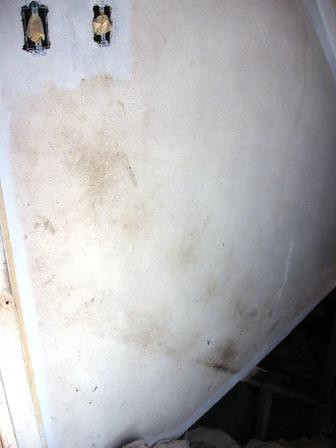
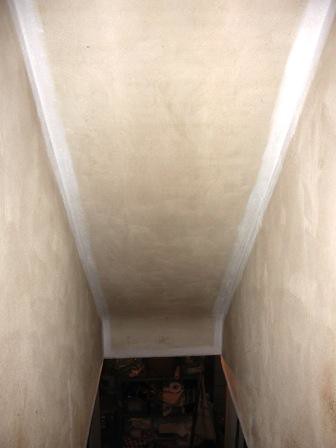
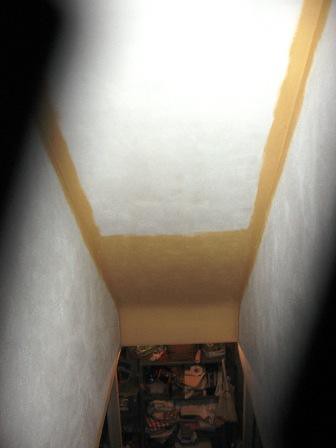
is an appropriate description of painting the basement stairway, which I also did between Christmas and New Year's. The number of "untouched" spaces at Foxcroft keeps dwindling, and this was a good one to get out of the way.

For all the time Bess took in planning so much of Foxcroft before it was built, I cannot for the life of me understand why she did not have an entrance from outdoors straight into the basement. Cellar doors or anything would have been crucial in my mind, but apparently not in her's. So any time you had to go from outdoors to the basement you had to go through the kitchen. Lots of very dirty hands went down the stairway over the years, lots! To make matters worse, I'm pretty sure that the stairway was wearing its original 1928 paint until this project.

Here is the way down. I removed the door before starting (Stuccohouse will be so happy to see I did that)


And here is the other side. I took off the light switch covers and taped over the light switches to prevent paint splatters. I also removed the hand railings, which had been added at some later time, as the original handrails don't start until descending below the plaster:


As you can see from this pic and the two above, I primed the corners with a brush before rolling the rest:


We had a lot of "Hubbard Squash" left over from the living room, so that is what I used:


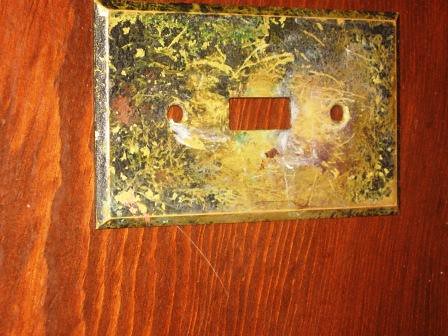
The light switch plate was pretty grungy, Here it is before clean up:


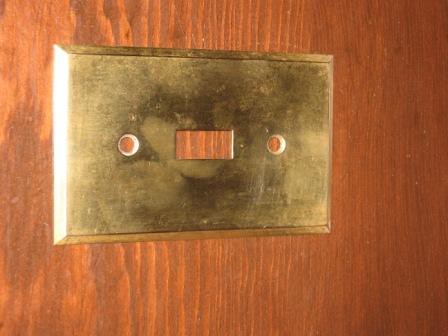
And after boiling in water and baking soda plus some 0000 steel wool:


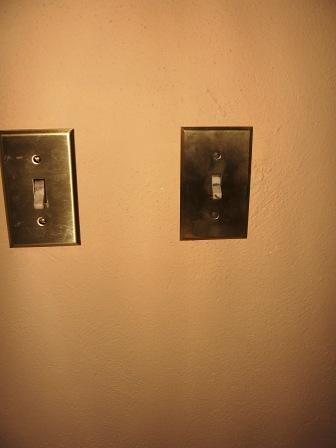
And here it is back on the wall:


Don't ask about the second switch, it is a long story...

Wednesday, September 15, 2010

Slowly winding down

Just like the days getting shorter, my time working on the south side continues to diminish. With school starting I have slowed to nearly a stop, but I'm not yet ready to admit defeat and put the scaffolding away yet.

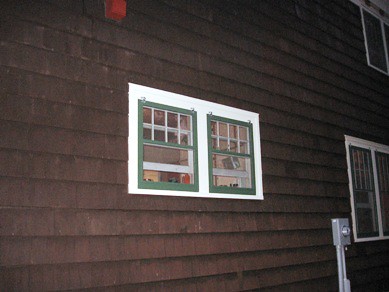
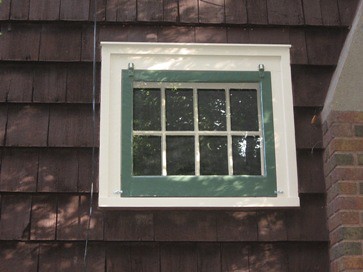
Most recently I painted the new screens from Adams Architectural and hung them on the kitchen windows:


These are the "little" windows above the sink and are quite a bit smaller than the dining room windows or even the second floor bedroom windows:


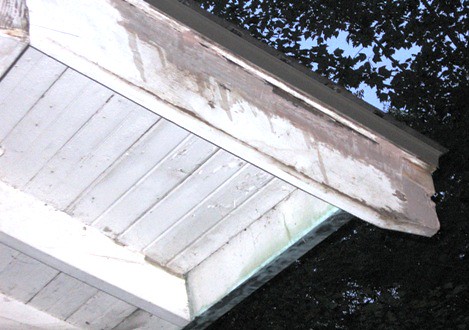
The other piece I'm still working on is to repair the rot at the end of the barge board toward the front of the house. When I removed the aluminum that had been tacked over the barge board I found that quite a bit of the original board had rotted away. At some point a big chunk was chiseled out and a piece of replacement wood had been added. Of course just covering that with siding gave a great place for moisture to gather. I chipped away at the worst rot and hit everything with wood hardener. I then have been slowly building up the voids with bondo. I'm pretty close to having it all filled in.


With any luck (and no Iowa home football this weekend) I may get the rest of the barge board sanded and ready to paint.

Monday, July 26, 2010

Rope a Dope

I continue to plug away at painting this summer, even if I haven't said anything about it. I'm working on the Southeast side of the house. This is the side that shows the most damage from weather. It is also where the triple dining room window is. Here is the window in the midst of being heat gunned/scraped:


The far left side hadn't been done yet


Here is one of the center sections


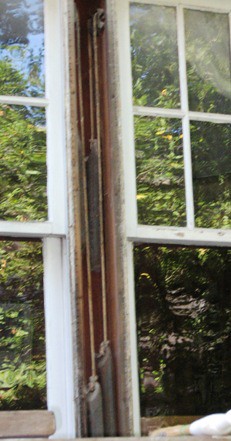
After heat gunning the paint off the boards in the center sections were in bad shape. I knew I'd need to sand down to bright wood in order to get any new paint to stick. Since they were so loose anyway I decided to take them off, which of course exposed the window sash weights and cords.


It was then that I realized how much easier it would be to replace the old sash cord FROM THE OUTSIDE. I wouldn't have to knock open the channel pocket and reach in and up or spend nearly as much time threading the cord through the pulley. I went and bought new cord, since I was nearly out and I found a thicker cord than I'd ever seen before. It was so thick I could barely get it through the holes in the weights. but it sits very nicely in the pulleys.


So the center window is completely re-roped and the two outside windows have their inside ropes replaced. In other words of the 12 ropes in the window section 8 have been replaced. I'll do the outer ropes on the outer windows when I'm ready to reglaze those windows in the future.

After getting the outside boards clean I put them back into place. I used bondo to fill in the cracks in the board to get a smooth surface again, and sealed them up at all the edges. I did the same to the chimney window next to the fireplace. Here is that one ready for priming.


So how does it all look now? Here are the dining room windows completely painted and with my new screens from
Adams Architectural in place. (Storms will go up this winter)


Here is the chimney window.


I have been back up working in the eaves and repairing the lookouts that hold the barge board in place. I'll post on that next.

Tuesday, November 10, 2009

It's a DIFFERENT Shade, Really!

So I've been working on the room that will be Lisa's office space and a guest bedroom. This room was originally Helen's bedroom. When she and her husband returned to Foxcroft in the mid 1950's it became their bedroom. I'm guessing the room was last painted about that time. We have already painted the ceiling (after stripping off the wallpaper on it) and stained and varnished the floors. Here are a few shots from painting.

Primer covering the 50 year old paint job, you can also see the cracks I filled in:


When I pulled the radiators 4 years ago we discovered the original rose color for the room, that was mentioned in the plan book Bess gave the builders. The room seems to have been painted a grand total of two times before our current project:


Here's the new paint, which looks a LOT like the old, except maybe not quite as "minty." The color is "Sweet Sage."


And some more:


To remove the ceiling paper I had removed the picture rail. We cleaned, stained and varnished it. With the painting done I could put it back up.


And here is the railing back where it belongs.

Tuesday, September 29, 2009

An OUTSIDE "Mushroom Factor" Tale

It's been a while since I've had a "mushroom factor" experience. I wrote about the phenomena here: The Mushroom Factor. Basically the mushroom factor is what happens when what looks like a small project quickly "mushrooms" into a much bigger one when you realize all the sub projects that need to be completed.

I was hoping to scrape and paint the trim on the dining room and chimney windows before winter. I also thought I could probably stain the shingles around them too. That was before I noticed how rotten the drip cap was above the three dining room windows:


The drip cap was just as bad with chewed up shingles above the west chimney window too:


The shingles are two layers deep and are attached from the bottom of the wall up to the top. This means that to replace the drip cap I need to remove TWO layers of shingles whose ends are buried by those above them.

I decided to get a razor blade and cut away at the first layer carefully to see how hard it might be:


I quickly realized I needed a better tool for this and went to visit Pete. I told him what I needed and he sent me home with this:


That is his "toolwerks" tool. We put a head on it with teeth and the whole thing reciprocates like a tiny sawzall.


I went home and had the first layer out in no time at all. Here is what I removed:


And here is the second layer of shingles exposed and ready to cut. You can faintly see the lighter line behind the bottom of the upper row. That is the exposed new cedar against the older stained wood:


I had the second row out pretty quickly too. I cut at an upward angle, hopefully I can duplicate that angle on the new shingles I'll add later. Here is the same area with the second layer removed:
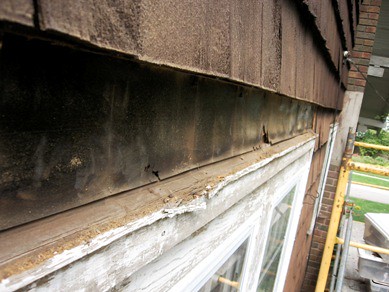

I then got out my "catspaw" and pried out the drip cap:


And here is the area with the old drip cap out:


I was able to cut some new drip cap to fit above both the dining room and chimney windows. I'm almost done painting it and will install it later this week.

I'm hoping over the weekend to cut new shingles to put back up in place...

So the upshot is I probably WON'T get the trim painted or the rest of the shingles stained, yet this fall. There are home Iowa football games the next two weekends, and the weekend after that I promised Lisa we would try to finish stripping the floor of the office so we can get it varnished before winter too.

I will probably take down my scaffolding after getting the new shingles in place and admit that the "mushroom factor" has once again gotten the better of my schedule!