... as in "cope cuts." I am very bad at using a coping saw. I was able to do passable copes when I had to cut new baseboards for the upstairs, but when it comes to coping the picture railing, forget it.
You may ask "How did you manage to successfully trim four rooms upstairs with picture rail if you can't cope?" The answer of course, is that I used salvaged rail and made sure to take advantage of the copes that were already cut by people FAR more skilled than I am. It became a challenge in itself to figure out how to take advantage of the copes already cut!
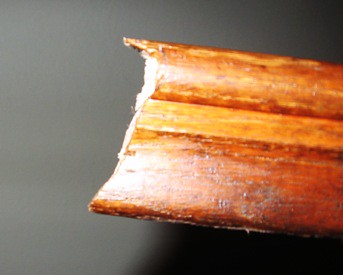
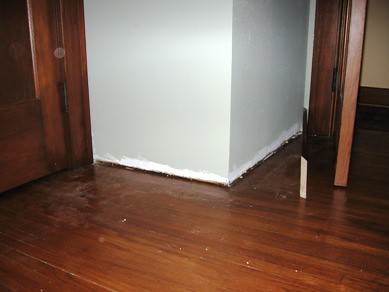
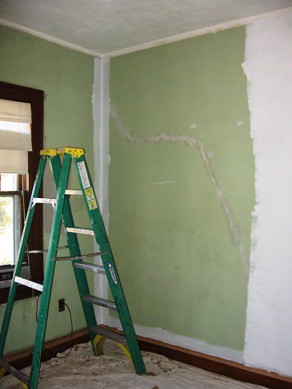
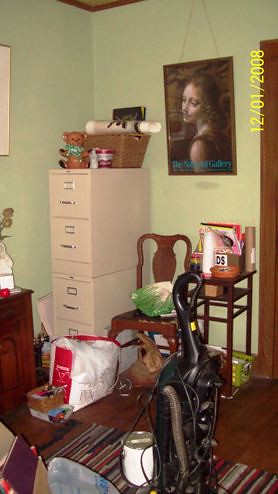
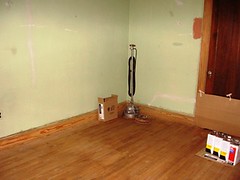
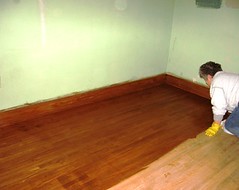
Which leads to trimming the new bump out in the office/spare bedroom. Way back in the 1950's a temporary closet had been built into that space. We ripped it out and put in our chase for the HVAC and electrical to go upstairs. However the picture rail in the corner had already been cut and removed long ago. I had barely enough salvage left to do this last little job, but it meant having to do a cope cut myself, so here it is:
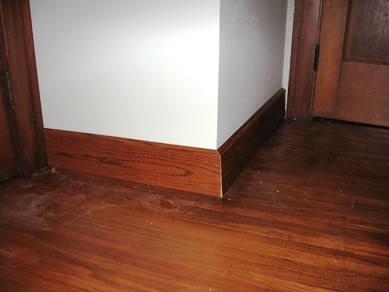
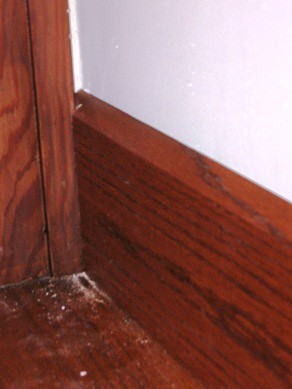
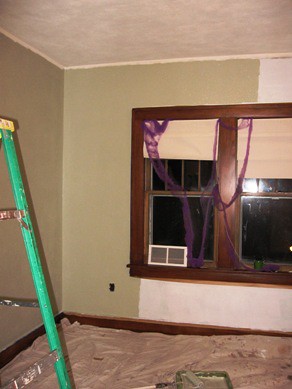
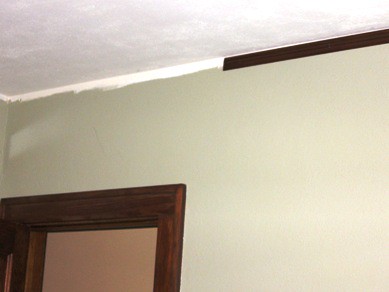
The top fit pretty well, but the bottom has some real issues. You can see that when I put it up into place:
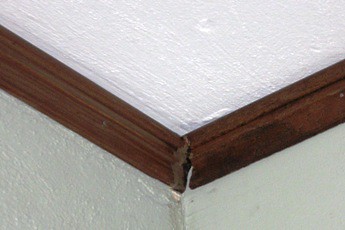
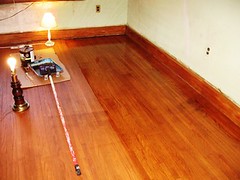
In my defense it doesn't look that bad when you're standing in the room, and that corner is very out of the way. If I slather enough wood filler up there, it will be invisible.
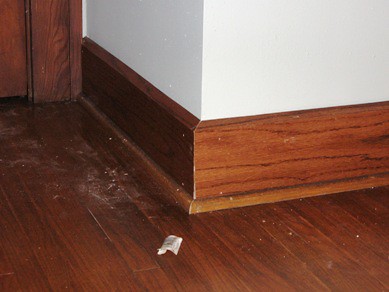
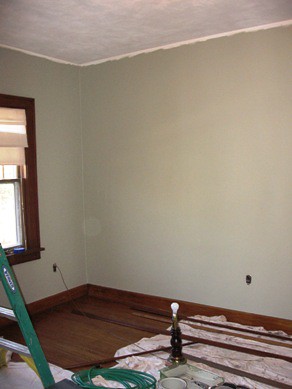
What you may also notice from that last picture is that the original rail was cut short of where the new bump out starts so I was forced to GLUE a tiny block of wood in place to fill that gap. Once I put a little touch up paint over the glue that bubbled out, it too should be invisible. (I hope!)
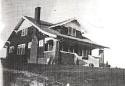 Here is a record of our restoration of a 1928 craftsman. We will be the second family to live in the home. Watch our progress when we prevail and our privation and pratfalls as we do not.
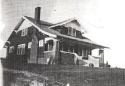


