Showing posts with label home repair. Show all posts

Wednesday, January 11, 2012

Greatest Hits of 2011 INSIDE


Since I was very remiss in not posting about projects as I worked on them last year, I'll just have to cover them now in a "Best of" fashion. Here is one project that gave me great satisfaction in completing: The final door in our upstairs.

A brief recap: in 2005 we started converting the 1200 sq. ft. attic at our home into a liveable second floor. My goal was to make it look like it had always been finished, and I matched the trim, etc. from the 1928 first floor by using our original blueprint profiles. I bought 8 matching doors in jambs on ebay to use upstairs and wrote about getting them here: Ever Lose a Ball Hitch at 60 MPH?

Eventually I put those doors in, as detailed here: A Major Hang Up

The only problem was that we had NINE door openings upstairs. Older daughter has gone 5 years without a closet door until she went away to camp last July.

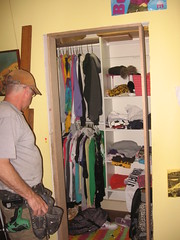
Unlike the other doors, I had to build the jamb for this one. I got Pete to come over and re-live old times. The photo above shows Pete at the start of the project.

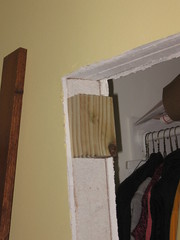
We constructed the jamb first and then built up blocks to hold it into the opening. Thank God for 1 x 4 door trim to make up for a lot of extra area:
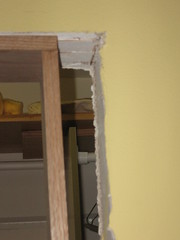


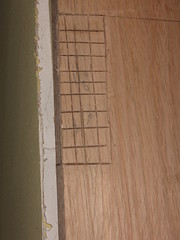
We set the door in place and marked for where we would need to mortise the jamb to inset the hinges:


I used Pete's "Toolwerks" reciprocating saw that I also borrowed from him when I worked on this: An "Outside Mushroom Factor" Tale. With it I cut a lot of bits into the wood and then went at them from the side. Eventually I smoothed it out with a wood chisel:


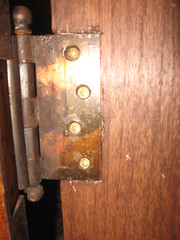
And here is how it looks with the hinge in place:


I used a similar process to mortise in the door strike plate:


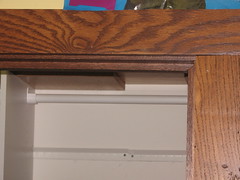
After cutting all the casing to fit I stained and varnished it as well as the jamb and put it in place. I love the grain in the wood above the door, I call it the "Sunrise" pattern:
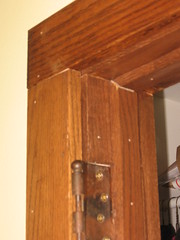


And finally with all that together I could cut the baseboard to fit and attach it to the wall:


By this time, oldest daughter's week at camp was up so I still have to wait to install the quarter round and trim the inside of the closet...

Thursday, December 02, 2010

Guttersnipe*

*noun
a child of the slums who spends most of his or her time in the streets: contemptuous term applied to anyone regarded as having the manners, morals, etc. of the gutter

Origin: orig. (Brit dial.), the common snipe, which picks food out of gutters


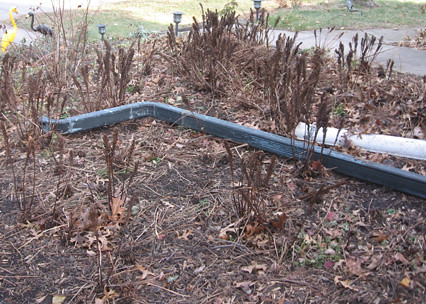
Yes in the five years we have been at Foxcroft I have been a guttersnipe about our front gutter. Since the first winter I have known that there was a problem with the gutter in that it leaked over the front porch steps and created a gigantic ice hazard that made it nearly impossible to use the front door.

I'd had several people offer advice on what to do, but got nowhere. Finally I mentioned it last summer to Tim, a fellow member of Friends of Historic Preservation, who is a highly regarded handyman. He came over this fall and said, no problem, if I got him some copper to patch with, (our gutters are made of copper and are original to the house) he'd drop the gutter at the end where the downspout was (Which over time had become the HIGH spot) and patch in the bracket. Well he came and discovered that unlike most gutter systems this one has a continuous flap that must run a foot under the entire roof. There was no way to do what he had originally planned. I asked what our options were, he said really the only thing that could be done is to move the downspout to the low spot on the gutter which is over the steps. Tim came last weekend and we did just that.

First I carefully removed the downspout and set it aside:


Then we sweated out the downspout from its place on the North end of the house.


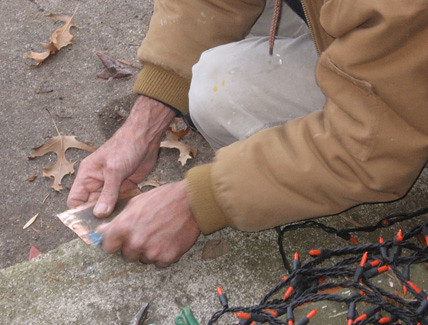
Then we cut a patch for the hole and cleaned it:


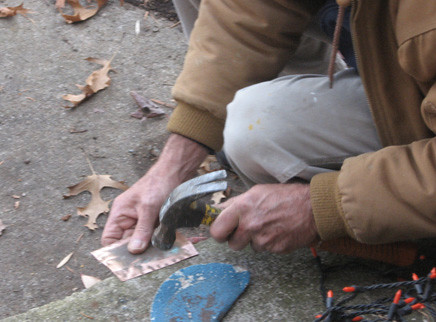
And hammered it to make sure it would lay flat:


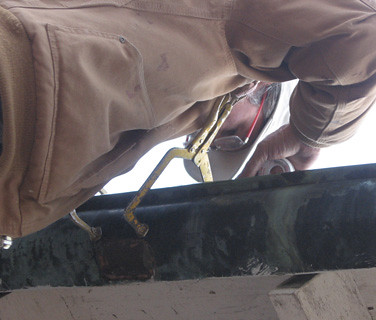
Then after fluxing everything it was soldered into place:


Then we cut a hole at the low spot just north of the porch steps post:


And soldered the downspout into the new location:


At this point Tim was ready to call it an afternoon. I set the downspout back in and realized I would need some elbows to push the bottom of the downspout back out so it would clear the post steps pillar. I went to the hardware store Monday during my lunch hour and then set that all up. As I drove back to work it started to rain. When I came home Monday night I got out the ladder and went up to look, and there was nearly no water left in the gutter. I am hoping for a much safer winter!

I really don't like the way the gutter looks, having lost the symmetry, but in this case safety is much more important.

Wednesday, September 15, 2010

Slowly winding down

Just like the days getting shorter, my time working on the south side continues to diminish. With school starting I have slowed to nearly a stop, but I'm not yet ready to admit defeat and put the scaffolding away yet.

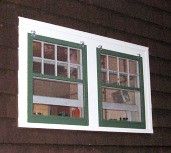
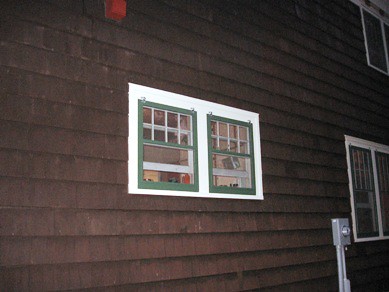
Most recently I painted the new screens from Adams Architectural and hung them on the kitchen windows:


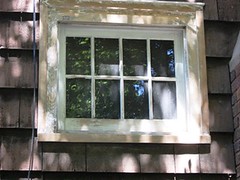
These are the "little" windows above the sink and are quite a bit smaller than the dining room windows or even the second floor bedroom windows:


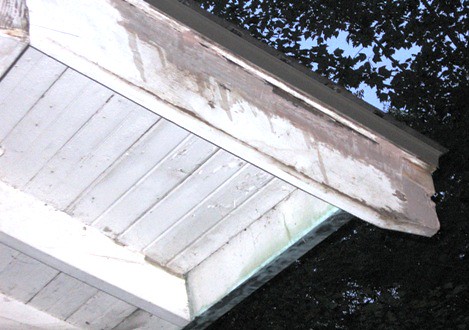
The other piece I'm still working on is to repair the rot at the end of the barge board toward the front of the house. When I removed the aluminum that had been tacked over the barge board I found that quite a bit of the original board had rotted away. At some point a big chunk was chiseled out and a piece of replacement wood had been added. Of course just covering that with siding gave a great place for moisture to gather. I chipped away at the worst rot and hit everything with wood hardener. I then have been slowly building up the voids with bondo. I'm pretty close to having it all filled in.


With any luck (and no Iowa home football this weekend) I may get the rest of the barge board sanded and ready to paint.

Monday, July 26, 2010

Rope a Dope

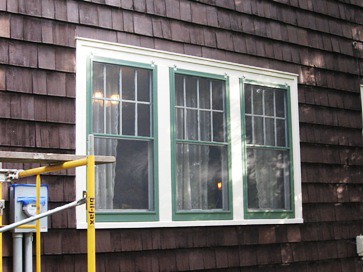
I continue to plug away at painting this summer, even if I haven't said anything about it. I'm working on the Southeast side of the house. This is the side that shows the most damage from weather. It is also where the triple dining room window is. Here is the window in the midst of being heat gunned/scraped:


The far left side hadn't been done yet


Here is one of the center sections


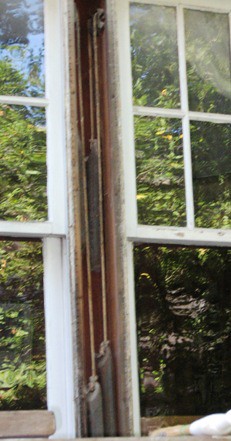
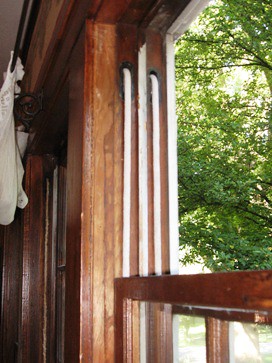
After heat gunning the paint off the boards in the center sections were in bad shape. I knew I'd need to sand down to bright wood in order to get any new paint to stick. Since they were so loose anyway I decided to take them off, which of course exposed the window sash weights and cords.


It was then that I realized how much easier it would be to replace the old sash cord FROM THE OUTSIDE. I wouldn't have to knock open the channel pocket and reach in and up or spend nearly as much time threading the cord through the pulley. I went and bought new cord, since I was nearly out and I found a thicker cord than I'd ever seen before. It was so thick I could barely get it through the holes in the weights. but it sits very nicely in the pulleys.


So the center window is completely re-roped and the two outside windows have their inside ropes replaced. In other words of the 12 ropes in the window section 8 have been replaced. I'll do the outer ropes on the outer windows when I'm ready to reglaze those windows in the future.

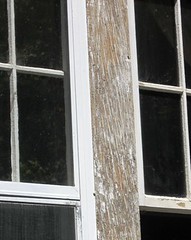
After getting the outside boards clean I put them back into place. I used bondo to fill in the cracks in the board to get a smooth surface again, and sealed them up at all the edges. I did the same to the chimney window next to the fireplace. Here is that one ready for priming.


So how does it all look now? Here are the dining room windows completely painted and with my new screens from
Adams Architectural in place. (Storms will go up this winter)


Here is the chimney window.


I have been back up working in the eaves and repairing the lookouts that hold the barge board in place. I'll post on that next.

Monday, March 08, 2010

Calling in "The Man"

It had been quiet, too quiet on the home repair front. I was working in the basement two Saturdays ago and needed to use the facilities. (Normally this is WAY more disclosure than you'd get in a normal post here, but it is essential to the plot development.) We have a toilet in the basement that gets used MAYBE once a month, so I went in there and I suddenly realized there was water dripping on my head...

The first floor bathroom is right above the basement one, and youngest daughter was taking a shower. I went up and since she had finished I started looking around for the source of the leak. My first guess was that the pan and surround of the shower needed to be recaulked because it looked pretty bad. I spent time removing the old caulk and putting in new on Sunday, and figured we'd try it out on Tuesday. The shower was put in some time in the 1980's and replaced the sunken bathtub that was original to the house. Sadly all I have to show of the original is the blueprint:


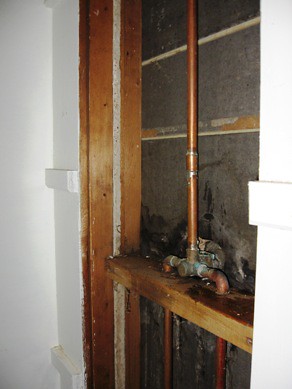
Well, we turned on the water Tuesday and there was still a leak downstairs so I knew it must be the pipes up to the shower. Last Friday being my day off I emptied the shelves in the bathroom closet and removed them. I then took out the two panels that lead to the shower pipes:


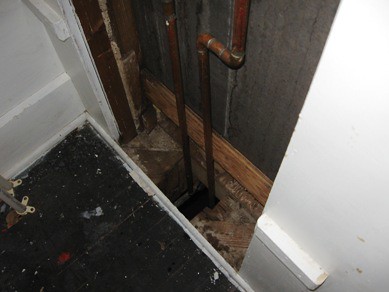
I could see where the frame and wallboard had been wet in the past and could also see why there were such drips given the size of the hole in the floor:


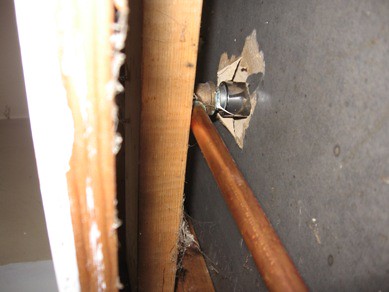
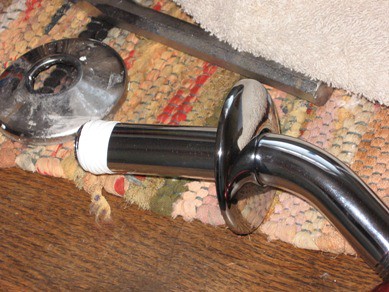
I turned on the water and saw it was leaking way at the top where the filler tube for the shower head went into the copper pipe. I realized I could remove the filler tube and probably just put new teflon tape on it and stop the leaking. So I removed the shower head and flange so I could get at the filler:


I got out the pipe wrench and very gently applied pressure, I was surprised at how easily it turned and the next thing I knew it was in my hands. The only problem was all the threads were still in the copper elbow. The entire pipe had just crumbled away:


Now I was stuck. I had no way to get the threads out of the elbow. I was afraid I was going to have to call in a real plumber, since I am not competent at sweating in new copper. (I thought we'd have to saw off the old pipe and sweat on new.) As I considered, I wondered if it wouldn't be better to just do it all in PEX since that is what all the new plumbing on second floor is. Either way I saw this as getting much more pricy than I wanted.

Fortunately we had a family dinner Friday night and my younger brother Tom came over. He asked what was up in the bathroom after being in there and I told him of my mishap that morning with the pipe.

Now Tom is a tool salesman and much better at most home repair than I am. He said he'd come over with his extractor set and try to see if we couldn't get the threads out.

Saturday morning he showed up with tools and went to work, finding the right extractor and tapping it into place:


Here is a view from inside the panel:


We couldn't get the thread loose so a judicious application of his torch was in order to heat and expand the joint a little. After a minute of heating Tom went back to cranking it out:


And it came loose:


Right after we finished cleaning up, Pete came by for me to troubleshoot some of his school web pages. In exchange for my help he agreed to go to the hardware store (he was on his way there next) and pick up a new filler tube. When he brought it back I taped it up:


And put the shower head back on:


So I'm happy to say I got the "the man" to come out and I didn't have to pay for a plumber. And yes, the shower works just fine.

Monday, November 09, 2009

I HATE it When That Happens!


Yes, I am almost finished working in the office/guest bedroom and when I went to move the light, the outlet plate and half of the outlet came with it.

Fortunately I have a few New Old Stock duplex plugs left from my Grandfather's electrician business. I managed to get it replaced pretty quickly.

My next post will be about finishing painting and trimming the space.