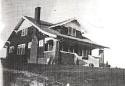
 Here is a record of our restoration of a 1928 craftsman. We will be the second family to live in the home. Watch our progress when we prevail and our privation and pratfalls as we do not.
Since I was very remiss in not posting about projects as I worked on them last year, I'll just have to cover them now in a "Best of" fashion. Here is one project that gave me great satisfaction in completing: The final door in our upstairs.
A brief recap: in 2005 we started converting the 1200 sq. ft. attic at our home into a liveable second floor. My goal was to make it look like it had always been finished, and I matched the trim, etc. from the 1928 first floor by using our original blueprint profiles. I bought 8 matching doors in jambs on ebay to use upstairs and wrote about getting them here: Ever Lose a Ball Hitch at 60 MPH?
Eventually I put those doors in, as detailed here: A Major Hang Up
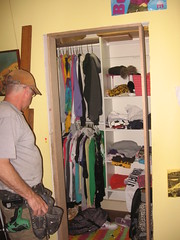
The only problem was that we had NINE door openings upstairs. Older daughter has gone 5 years without a closet door until she went away to camp last July.
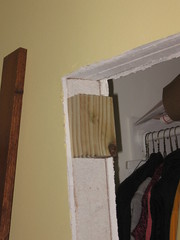
Unlike the other doors, I had to build the jamb for this one. I got Pete to come over and re-live old times. The photo above shows Pete at the start of the project.
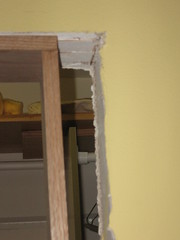
We constructed the jamb first and then built up blocks to hold it into the opening. Thank God for 1 x 4 door trim to make up for a lot of extra area:
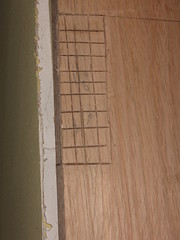
We set the door in place and marked for where we would need to mortise the jamb to inset the hinges:


I used Pete's "Toolwerks" reciprocating saw that I also borrowed from him when I worked on this: An "Outside Mushroom Factor" Tale. With it I cut a lot of bits into the wood and then went at them from the side. Eventually I smoothed it out with a wood chisel:

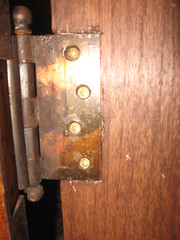
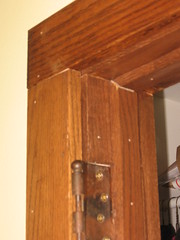
And here is how it looks with the hinge in place:
I used a similar process to mortise in the door strike plate:

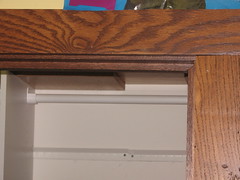
After cutting all the casing to fit I stained and varnished it as well as the jamb and put it in place. I love the grain in the wood above the door, I call it the "Sunrise" pattern:
And finally with all that together I could cut the baseboard to fit and attach it to the wall:

By this time, oldest daughter's week at camp was up so I still have to wait to install the quarter round and trim the inside of the closet...


