Tuesday, June 27, 2006

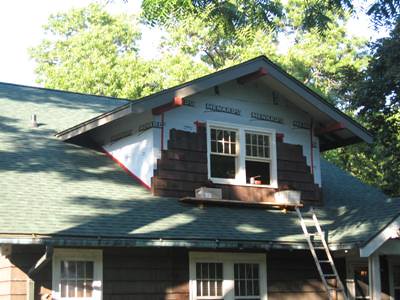
It Sure Looks Finished

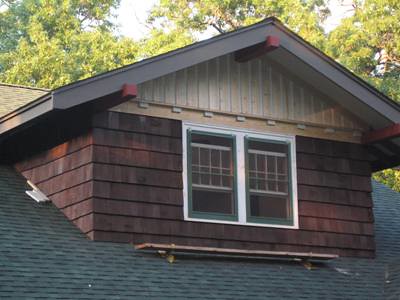
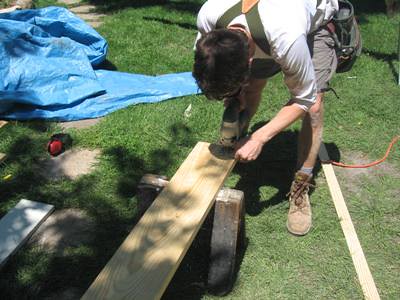
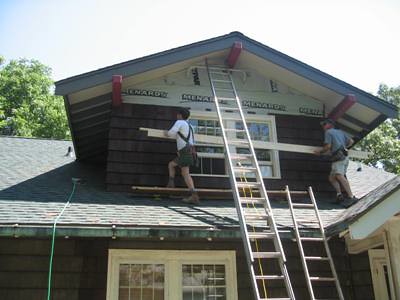
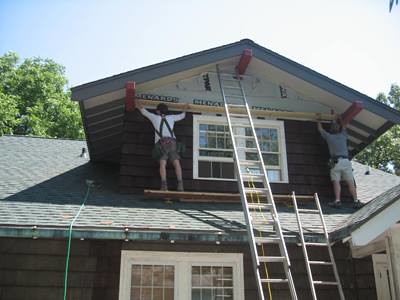
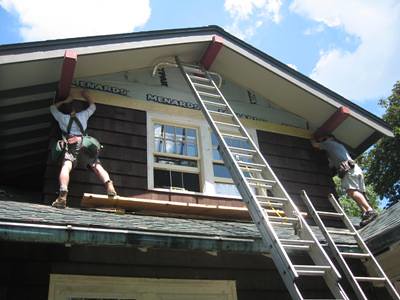
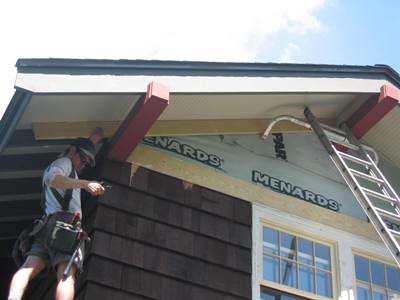
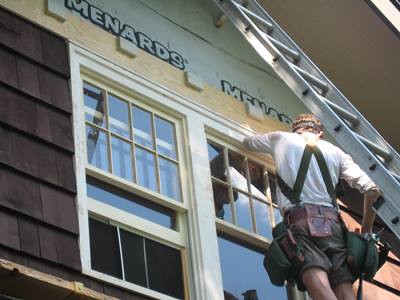
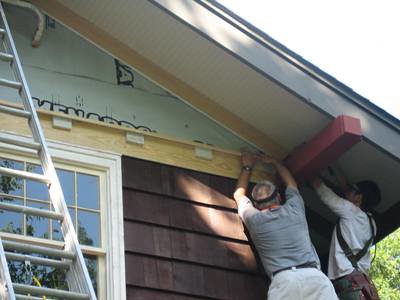
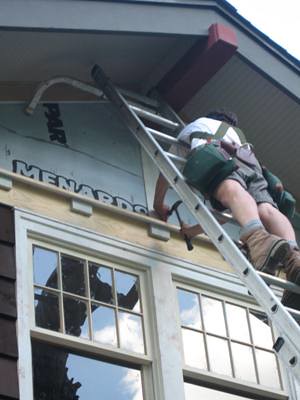
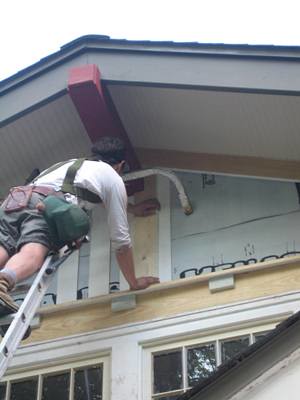
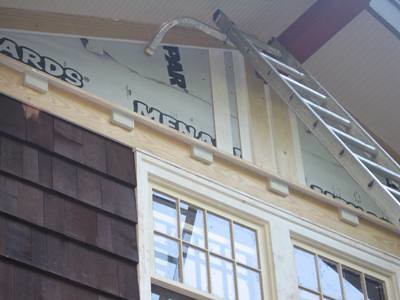
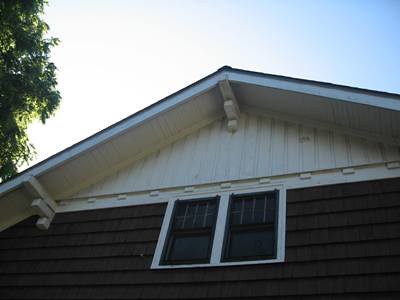
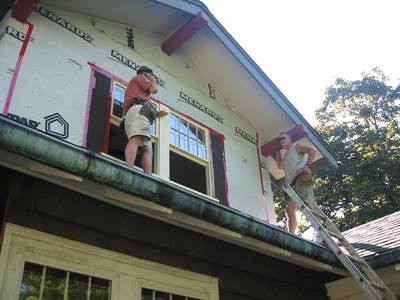
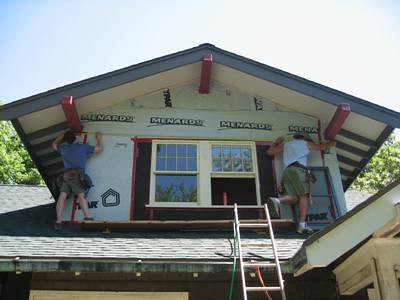
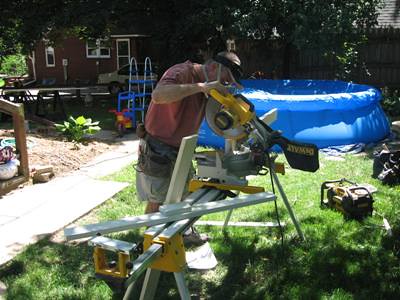
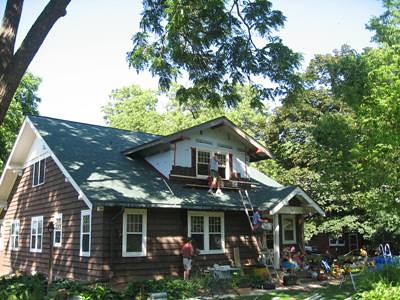
John came yesterday, after the rain stopped, to complete the trim in the gable end of the new dormer. I was the only other one working, so I got to run the saw for miter and bevel cuts while he measured and placed. I also hit all the exposed end grain with wood hardener before pieces were attached.

We started by working right and left of the center pieces we placed on Friday


Then we worked on the left side


We were nearly finished when of course it started raining again. We tarped the saw and wood and went to meet Pete and Taryl for lunch. They are installing a new bay window for another teacher at their school.

We came back and worked on the right side


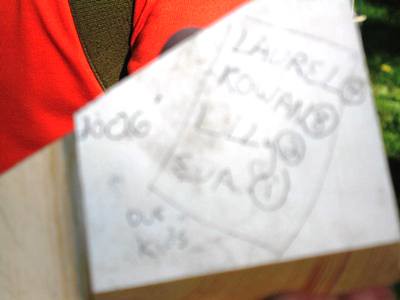
John's wife, also a teacher, came by with their two daughters to see the finishing touches. John put all the kid's names on the back side of the last board in the corner before placing it


After we packed up all John's tools and they took off I went and hung the screens so that we can really open the window without dealing with the slide in screens


All that is left to put up is cove molding between the dentils and bed molding over the rake boards butting up to the beadboard in the overhang. Then I'll prime, caulk and finish paint.

The really good news is that it looks like no rain today for the first time in two weeks. Tonight we are hosting a reception for the team of architectural historians in town to conduct interviews as part of the renewal of the Iowa City historic preservation plan

Saturday, June 24, 2006

More Architectural Terms Than You Can Shake a Barge Board At!

We started on the dormer trim yesterday. We ended up returning most of our fiber cement board as John was unsure it if could handle the amount cutting that we needed for some of our elements. He got a 1 1/8 thick by 7 1/4 tall 16 foot yellow pine board for our "Transition Board" (That's our term for the horizontal piece running above the window the covers the top course of shingles and provides a base for evrything above it) He also got yellow pine 1x4's for the "rake boards" that go between the front of the dormer and the beadboard in the overhang.

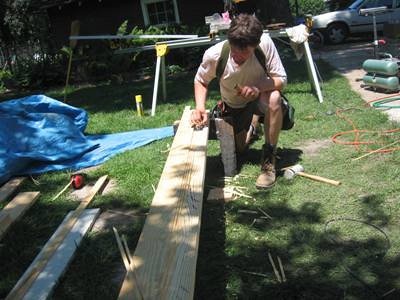
John started by cutting a 24 degree bevel along the top and bottom of the transition board so that it would set tightly along the drip cap at the top of the window, and take a drip cap above it too. We then needed to cut a "rabbet" at the bottom of the transition board to allow the shingles to be beneath the board while it still is "flat" in appearance. We started by cranking the table saw to an appropriate angle and then passing the board over it several times, increasing the depth of the cut each time until reaching the maximum on the blade


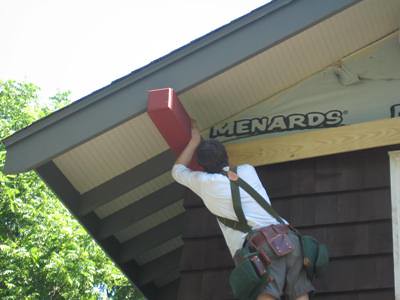
John had already cut the board to total length and then cut the "ears" for where the board would cross above and lay on the top of the "lookout" boxes


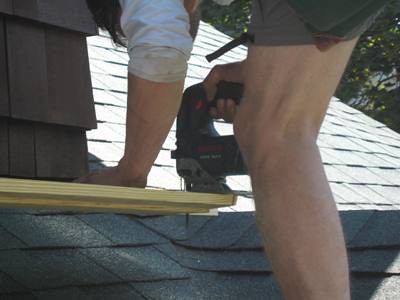
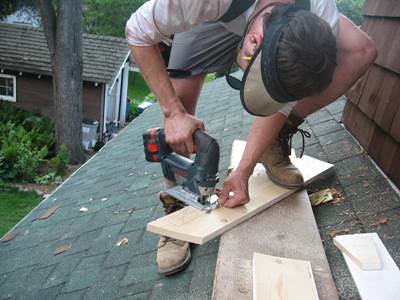
John and Pete then carried it into place to try it out, and make adjustments. Remember how we liked his battery operated jig saw??


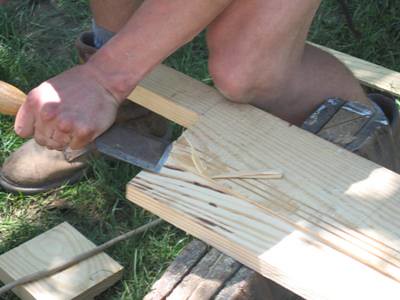
We then took the board down. We knew the depth of the table saw would not be enough for the shingle rabbet, so we laid the board flat over the saw and did several 1/4 inch passes along the back. John then hand chiseled these out and hand planed it smooth


We took it back up, liked it and nailed it in place


We then mitered the ends of the "rake" boards to meet at the top of the dormer, and put them up to mark for length and to figure where to put the "return"


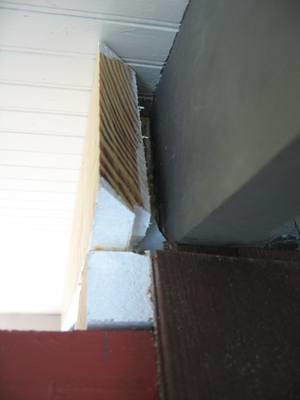
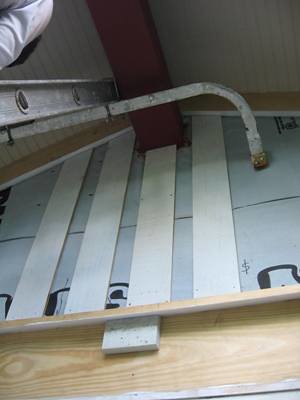
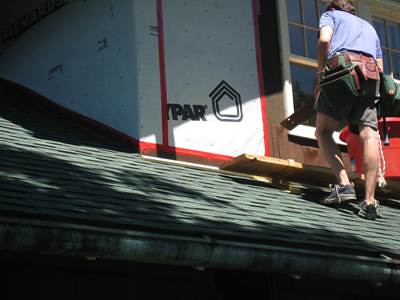
A "return" is a miter cut 90 degree turn end piece at the end of a board so that the end grain is not exposed to the elements. In the shot below you can see the side of the lookout box (red) with the "ear" of the transition board above it (white square) and the "rake" board above that with the miter ready for a return to be placed later. I had been "back priming the sides of the boards before they were nailed in. I hit all end grain with wood hardener.


Remember that Pete had cut all the "dentils" from cement fiber board on Tuesday? The dentils are very important, and not just "foo foo" They provide support and nailers for the drip cap that will go above the transition board. They all have a 24 degree bevel at their top


The "drip cap" was a piece of 1x4 with 24 degree cuts at front and back. We nailed it on the dentils


With all that finished we could start on the "board and battens" which is not right because the narrow spaces (battens) are really negative space and the boards stick out in front. We nailed the negative spaces first. Every board except the one under the lookout gets a 24 degree bevel at the bottom and a 24 degree meter cut at the top.


So then we started the same on the 1x6 boards. The two on either side of the lookout needed to have "mouths" cut out to go around the lookout. We got the first two set and called it a day

Thursday, June 22, 2006

Taken for Granite: Shipping Dingles is Tedious

I can’t imagine a better job for someone with anal retentive and obsessive compulsive tendencies than to dip shingles. I probably have a lot more of both of the above mentioned traits than I’d care to admit. I also think that any 1950’s era time study expert would completely approve of my shingle dipping process.

In my defense, the weather has not cooperated with us this week. We have had rain every day since the F&L boys started on Monday. This has made my job as shingle dipper difficult, which then makes it hard for the crew to have enough material to keep working. If I didn’t have to stop several times each day to cover my work I’d be done with this. Also we ended up driving to Cedar Rapids on Tuesday to buy three more bundles of shingles, since no one in Iowa City had #1 blue label saw cut. To compound this, John had water in the basement of the stunning craftsman home that he bought this spring and spent all day yesterday dealing with that.

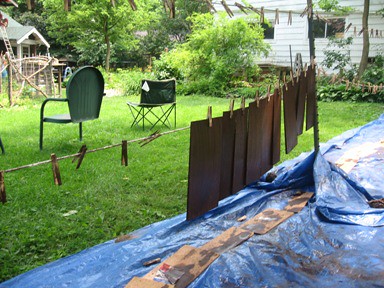
So enough whining, here is how I dip shingles. My true obsession is that I don’t want any stain ending up on anywhere except on the shingles. To that end I have set up my work area and my process to be efficient and clean. Here's what I do:

Step one set down a layer of shingles on the tarp under the lines so that any drips off the hanging shingles falls onto another shingle.

Step two set down the remaining shingle bundle to the right of where I am working
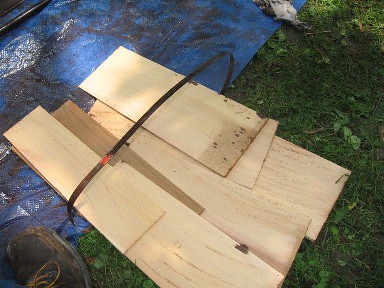

Step three lift off several layers of shingles from the bundle and place them immediately to the left of the 5 gallon stain can. Since the shingles are stacked from each end of the bundle with overlap in the middle it’s easy to “bend” the pile around the can
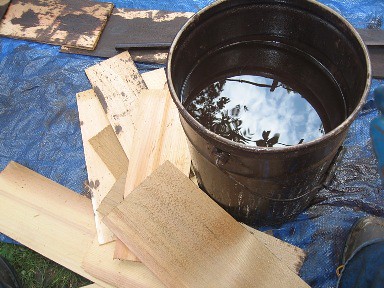

Take a single shingle from the pile next to the can and dip it, thick end down, into the stain. Brush off excess, then coat the top two inches or so of the shingle that didn’t get in the stain. Flip over and repeat. When the shingle is completely covered, lay it on the shingle bundle with the thick end of the shingle to the middle. Repeat, laying shingles in a clockwise order on the bundle until the entire surface area is covered. (Usually 8-10 shingles will do this)


Starting with the shingle dipped first, hang onto the lines with clothes pins. Fill the lower line first then the upper line

Then continue dipping and placing shingles on the bundle.
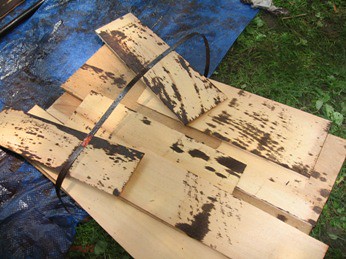

When the pile next to the can gets low, take more from the bundle.

Taryl and Pete spent yesterday morning weaving up the corners of the dormer in an alternate overlap pattern, with the double thicknesses, and the alternate overlap, you really have to think two steps ahead.
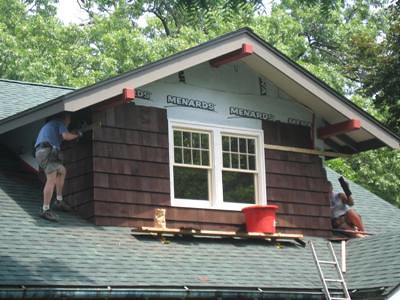

In the afternoon I got to actally nail a few shingles in, on the side, there is lots of trimming to get the edges along the roof line. We really like John’s battery operated Bosch jig saw for those diagonal cuts. While Taryl, Pete and I were up the the talk turned to spoonerisms and malapropisms. Hence today's title above. It took awhile to get both into the same thought.


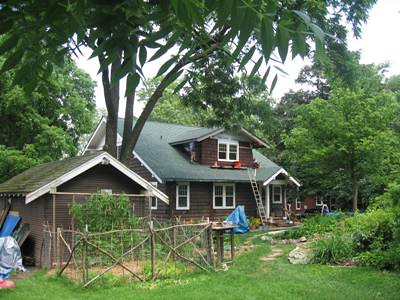
If the rain lets up this morning I should be able to dip the last bundle of shingles that we will need. Here was my view when I stopped for the rain yesterday:
Monday, June 19, 2006

Goodbye Tyvek!

Today was F&L reunion day and we lived up to our previous exploits in terms of work accomplished and general hijinks.

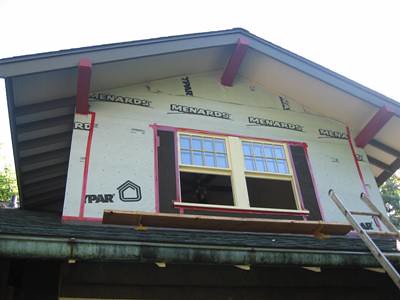
Pete and I had gone over measurements yesterday and had roughed out a materials list. Our goal was to figure out how much of what it would take to make this:


Look like this:


We had a rough idea when we went to the lumber yard yesterday, I wanted to try cement fiber board for the trim work, thinking that it won’t ever rot, and would hold paint better than lumber. We found that we’d really have to talk to the expert on that on Monday to see if they had dimensions we wanted.
Pete and Taryl came early today, and measured some more, and we scratched our heads and revised our list.


While Taryl and I went to get supplies, Pete brought down the saws from upstairs. Once we got back, Taryl and John (who came while we were gone) snapped a line for the bottom of the trim board that is the transition from shingles to the board and baton style trim.


Pete got to work on the chop saw. Of course he had to immediately cut the 3 inch by 5 inch dentil molding blocks.


I primed the backside of the window trim as it was cut and John and Taryl tacked it in place to try out the screens to make sure the reveal was correct.


Once it was they nailed it all down.


With the trim in place we could now start dealing with shingle courses. Most of the courses on the existing house are 9 inches, we worked from that. We nailed under the window first


An interesting thing about Foxcroft is that the shingles are laid two layers thick. John and I discussed that this may have been done to give more “depth” to the look, since the result produces darker shadows below each row. You don’t know that there is double thickness unless you stand RIGHT next to the house and pull a little at a shingle. Of course what this means for us is that we need twice as many shingles! I started dipping furiously to add to what I’d done last week.

To get a straight line, especially laying two layers to a course, we lightly tacked a straight edge board right at the 9 inch reveal to start the second row, this allowed John and Taryl to set shingles precisely while working. Pete started to patch in on first floor where we had torn out shingles last year to put in a support column for the new gable. From my dipping post I had a good view of the action. Pete's youngest daughter and a friend came along for the afternoon and kept Laurel entertained in the pool.


John and Taryl worked in a “pyramid fashion so that we can go back later to deal with the corners. We’ll need to alternate overlaps between the front and the sides, and get small brads to hold them together. By quitting time at 5:00 PM we are two courses from the bottom of the transition board.


I still can’t believe how good it looks so after dinner I primed the rest of the window trim and took another picture


With luck tomorrow we’ll get a lot more done on the sides and start using the fiber cement board for the rest of the trim.

Wednesday, June 14, 2006

Skinny Shingle Dipping

I dipped shingles yesterday. I set up lines in the back yard, put down a tarp, and went at it. It seems pretty simple. I went through 2 bundles yesterday, I have 5 more to go to get enough stained for the new gable. Our timeline is to start on that next week with yet another F&L Construction (Faith & Love, or Fear & Loathing, take your pick) reunion planned.


I put the shingles into the 5 gallon bucket of stain, thick end down, and then brushed the rest to get excess back into the bucket. I then laid them on top of my pile of shingles until I had a 8 or so then hung them up. By doing that it seems most of the excess either goes into the bucket or onto my next group of shingles, rather than the tarp or the lawn. I’ll need to get another 5 gallons of stain I think because I’m approaching the halfway point in my bucket and it’s much faster when it’s nearly full.

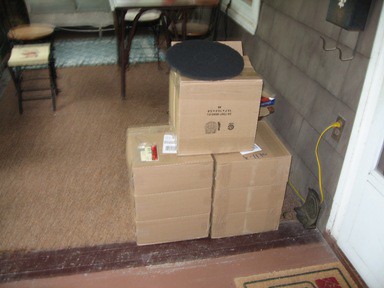
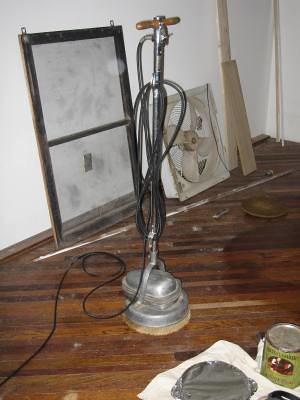
Today looks like rain so I won’t be out doing more, but that doesn’t mean I’ll be idle. When I took my afternoon break yesterday and went to sit on the front porch I was greated by a large stack of boxes. The stripper pads for the floor buffer arrived from the janitorial supply house:


I could start stripping varnish off the floors this morning, or I could finish sanding and start to stain the 12 upstairs door casings. The sides are all done and we just need to finish the ones that go above the doors. My thought is that it’s much easier to do it now before we start on the floors.

Sunday, June 11, 2006

Pass the Hash

Here's some follow up to recent posts:

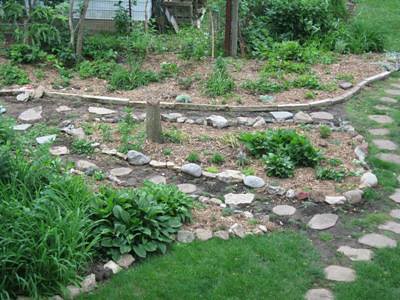
Backyard paths:

I talked to the neighbor's son about their rocks and got the go ahead to use them. It turns out the parents were rock hounds who took vacations specifically to get rocks. There are lots of geodes, quartz, very cool fossils, and a bunch of stuff I don't have a clue as to what it is. I have lined most of the backyard flower beds, and they look great. Some have been sawed open, and a few polished as well.


Upstairs floors:

I tried Pete's parents buffer and it will work to scrub off the old varnish. It is much lighter than the rental buffers which is good since I had to carry it upstairs. Also not having to pay daily is a huge plus. With luck we'll start this coming week.


In a side note I saw Pete's folk's last night at a gig my band played in Dubuque. For the second year in a row we were entertainmnet for TOMRV (Tour of the Mississippi River Valley) a grueling two day bike ride. Saturday went from Rock Island IL, north along the river through Galena then over to Dubuque, more than 80 miles of serious hills. Sunday took them down the Iowa side of the river to Davenport. Making yesterday tougher than usual was 25 mph headwinds, hard rain and temps in the 50's. Not many people finished. We played at the overnight site of Clarke College.