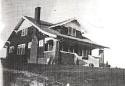
 Here is a record of our restoration of a 1928 craftsman. We will be the second family to live in the home. Watch our progress when we prevail and our privation and pratfalls as we do not.
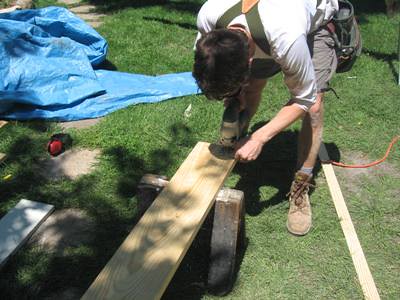
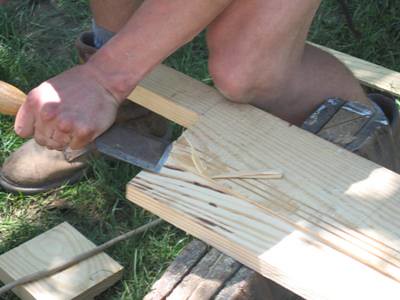
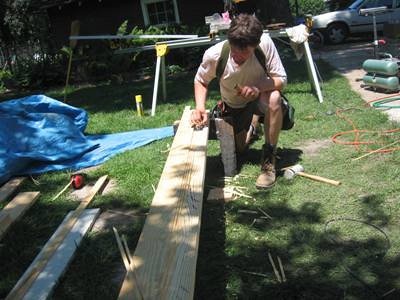
John started by cutting a 24 degree bevel along the top and bottom of the transition board so that it would set tightly along the drip cap at the top of the window, and take a drip cap above it too. We then needed to cut a "rabbet" at the bottom of the transition board to allow the shingles to be beneath the board while it still is "flat" in appearance. We started by cranking the table saw to an appropriate angle and then passing the board over it several times, increasing the depth of the cut each time until reaching the maximum on the blade


John had already cut the board to total length and then cut the "ears" for where the board would cross above and lay on the top of the "lookout" boxes
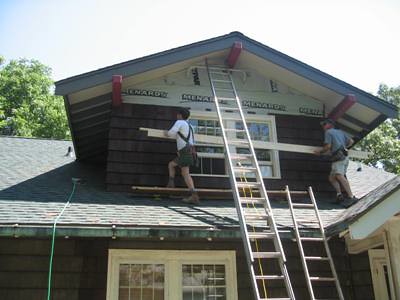
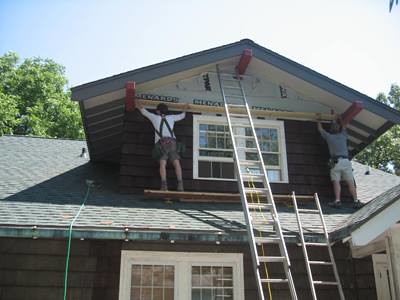
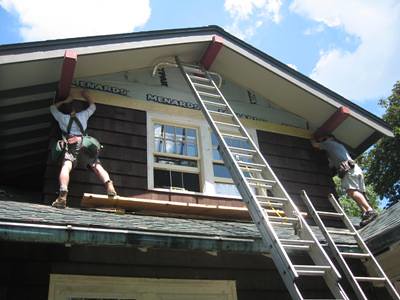
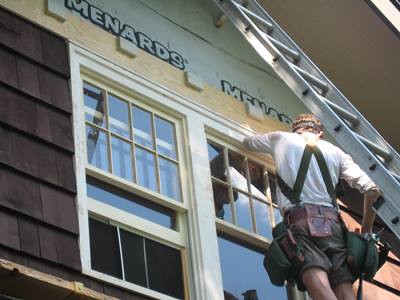
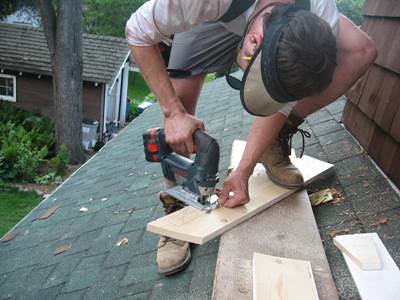
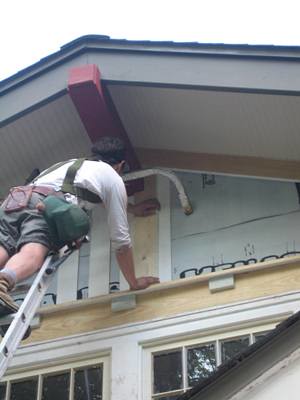
John and Pete then carried it into place to try it out, and make adjustments. Remember how we liked his battery operated jig saw??
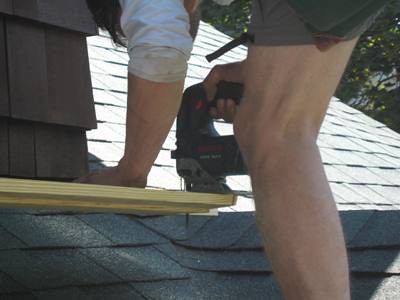
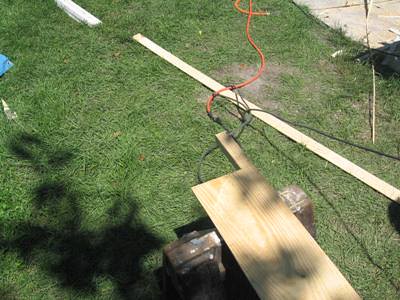
We then took the board down. We knew the depth of the table saw would not be enough for the shingle rabbet, so we laid the board flat over the saw and did several 1/4 inch passes along the back. John then hand chiseled these out and hand planed it smooth
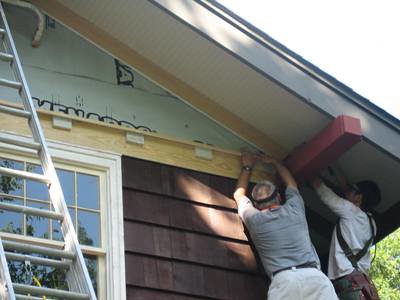
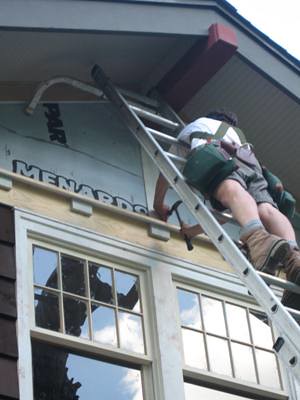
We took it back up, liked it and nailed it in place

We then mitered the ends of the "rake" boards to meet at the top of the dormer, and put them up to mark for length and to figure where to put the "return"
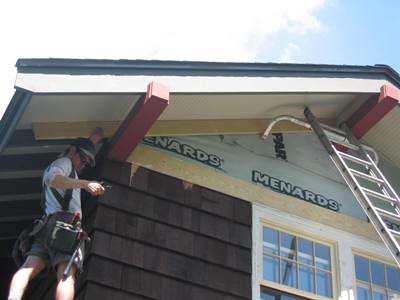
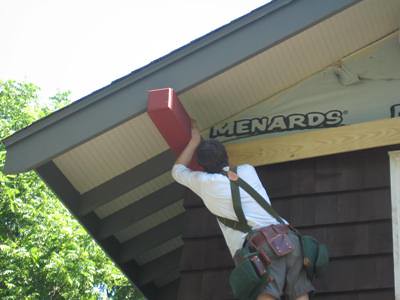
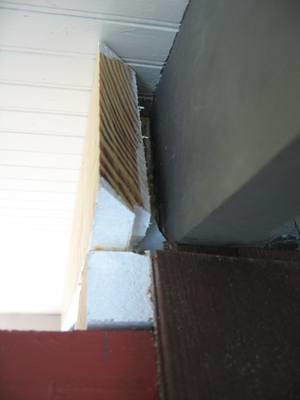
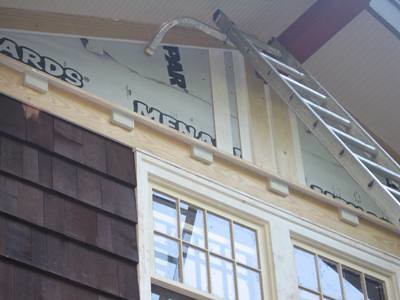
A "return" is a miter cut 90 degree turn end piece at the end of a board so that the end grain is not exposed to the elements. In the shot below you can see the side of the lookout box (red) with the "ear" of the transition board above it (white square) and the "rake" board above that with the miter ready for a return to be placed later. I had been "back priming the sides of the boards before they were nailed in. I hit all end grain with wood hardener.
Remember that Pete had cut all the "dentils" from cement fiber board on Tuesday? The dentils are very important, and not just "foo foo" They provide support and nailers for the drip cap that will go above the transition board. They all have a 24 degree bevel at their top
The "drip cap" was a piece of 1x4 with 24 degree cuts at front and back. We nailed it on the dentils
With all that finished we could start on the "board and battens" which is not right because the narrow spaces (battens) are really negative space and the boards stick out in front. We nailed the negative spaces first. Every board except the one under the lookout gets a 24 degree bevel at the bottom and a 24 degree meter cut at the top.
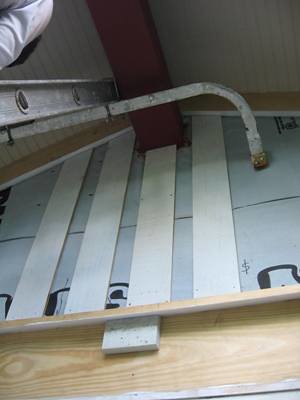
So then we started the same on the 1x6 boards. The two on either side of the lookout needed to have "mouths" cut out to go around the lookout. We got the first two set and called it a day
No comments:
Post a Comment