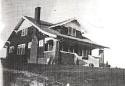
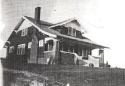
 Here is a record of our restoration of a 1928 craftsman. We will be the second family to live in the home. Watch our progress when we prevail and our privation and pratfalls as we do not.
In my defense, the weather has not cooperated with us this week. We have had rain every day since the F&L boys started on Monday. This has made my job as shingle dipper difficult, which then makes it hard for the crew to have enough material to keep working. If I didn’t have to stop several times each day to cover my work I’d be done with this. Also we ended up driving to Cedar Rapids on Tuesday to buy three more bundles of shingles, since no one in Iowa City had #1 blue label saw cut. To compound this, John had water in the basement of the stunning craftsman home that he bought this spring and spent all day yesterday dealing with that.
So enough whining, here is how I dip shingles. My true obsession is that I don’t want any stain ending up on anywhere except on the shingles. To that end I have set up my work area and my process to be efficient and clean. Here's what I do:
Step one set down a layer of shingles on the tarp under the lines so that any drips off the hanging shingles falls onto another shingle.
Step two set down the remaining shingle bundle to the right of where I am working

Step three lift off several layers of shingles from the bundle and place them immediately to the left of the 5 gallon stain can. Since the shingles are stacked from each end of the bundle with overlap in the middle it’s easy to “bend” the pile around the can
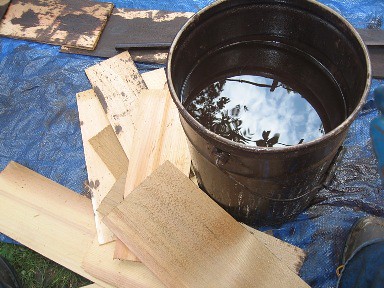
Take a single shingle from the pile next to the can and dip it, thick end down, into the stain. Brush off excess, then coat the top two inches or so of the shingle that didn’t get in the stain. Flip over and repeat. When the shingle is completely covered, lay it on the shingle bundle with the thick end of the shingle to the middle. Repeat, laying shingles in a clockwise order on the bundle until the entire surface area is covered. (Usually 8-10 shingles will do this)

Starting with the shingle dipped first, hang onto the lines with clothes pins. Fill the lower line first then the upper line

Then continue dipping and placing shingles on the bundle.
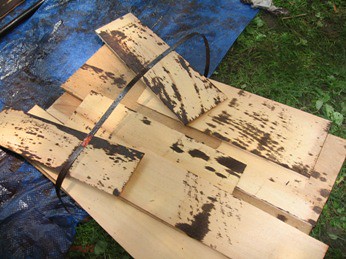
When the pile next to the can gets low, take more from the bundle.
Taryl and Pete spent yesterday morning weaving up the corners of the dormer in an alternate overlap pattern, with the double thicknesses, and the alternate overlap, you really have to think two steps ahead.
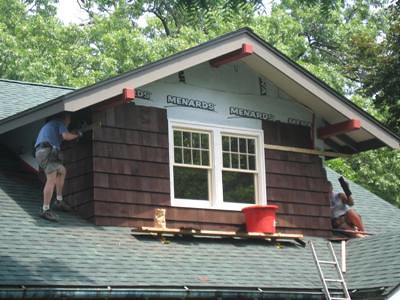
In the afternoon I got to actally nail a few shingles in, on the side, there is lots of trimming to get the edges along the roof line. We really like John’s battery operated Bosch jig saw for those diagonal cuts. While Taryl, Pete and I were up the the talk turned to spoonerisms and malapropisms. Hence today's title above. It took awhile to get both into the same thought.

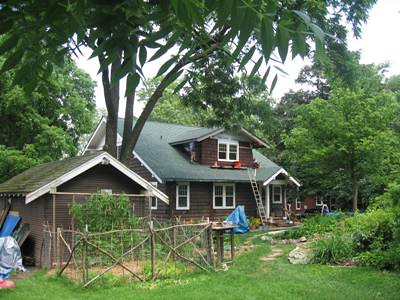
If the rain lets up this morning I should be able to dip the last bundle of shingles that we will need. Here was my view when I stopped for the rain yesterday:
2 comments:
Lookin' gooooood!
Hello my name is Philip Wagnon. I am a painter in Rocky Mount Va. I recently have been working on a project that requires dipping shingles. There is a total of 2250 bundles worth of dipping to be done and as you know that means we are up to our elbows in dipping. We are dipping them in a Cabots solid color stain and our record so far was 50 bundles in 4 hours, 4 guys working on it. We have very large containers that one man dips in and then pulls the shingle out and sets it in another bin of equall size. this bin has holes in the bottom which allow the shingles to drain. Then another man comes and grabs the shingles from that bin transfers them to another and sets them up to dry. We tried to hang them from pins but it took up to much space. We have noe taken 2 x 4's and cut slots in them one inch apart and sets the shingles in them upside down so that all the drips drain to the top and then get covered when applied to the building.
Post a Comment